
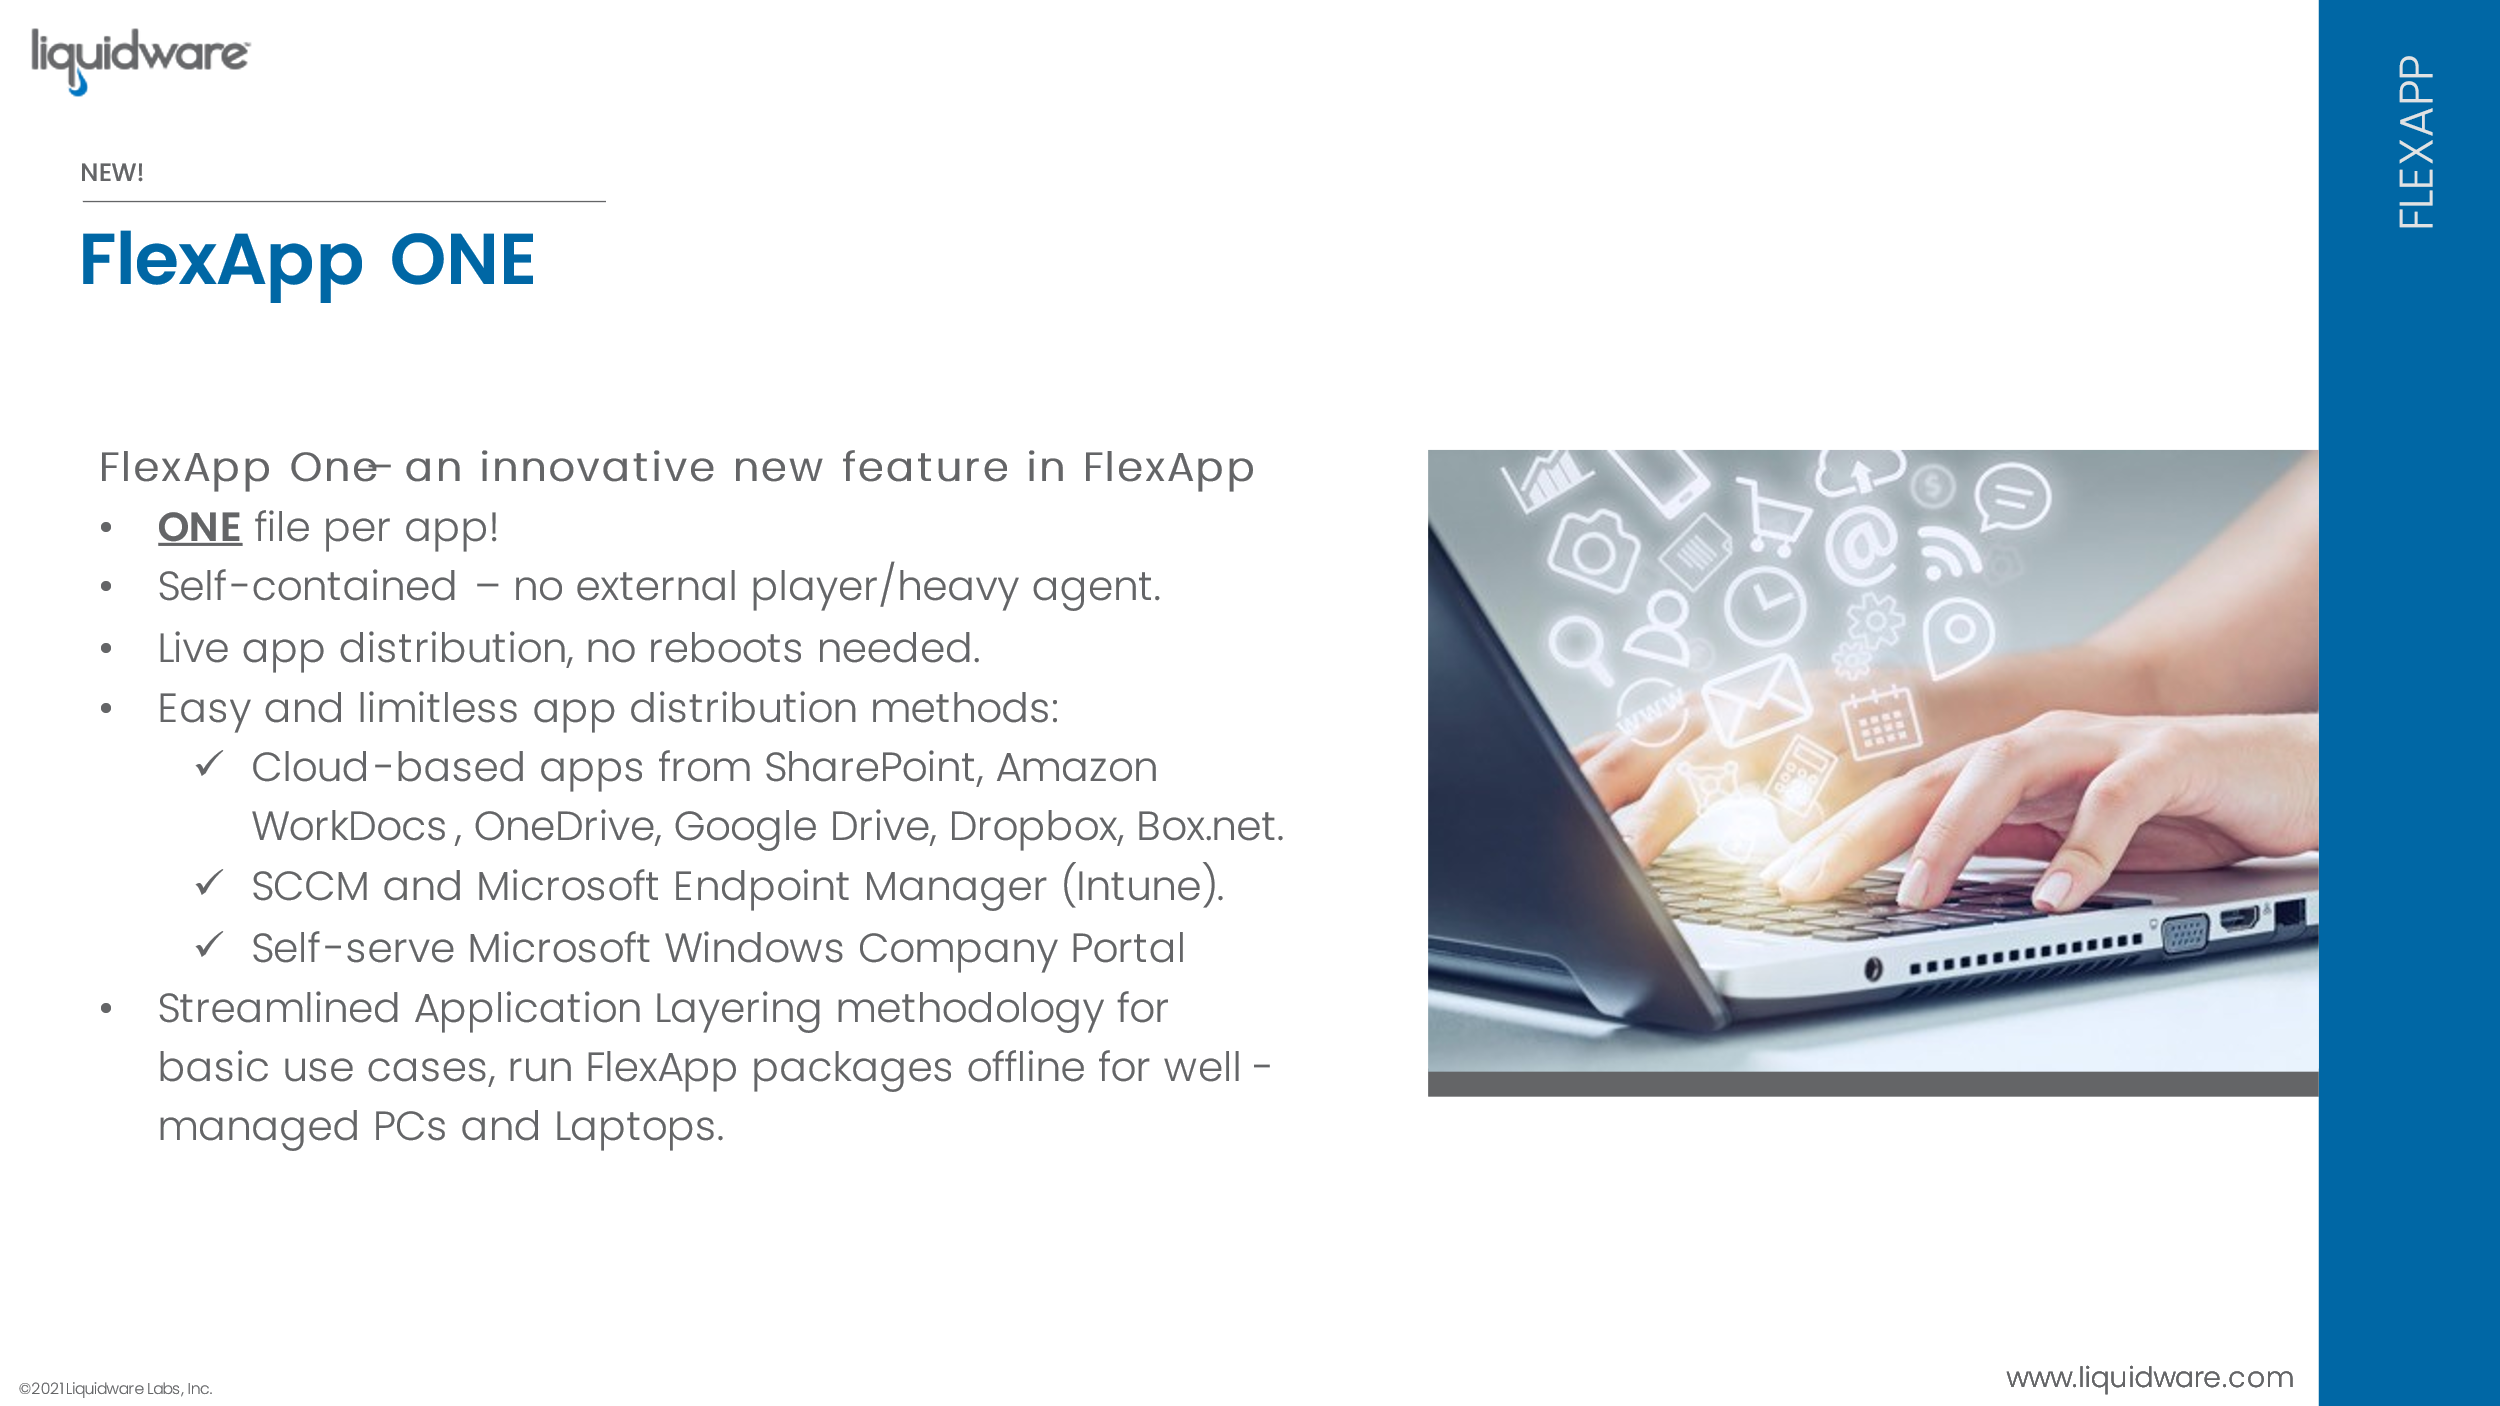
New Liquidware FlexApp ONE
Liquidware has released its new version of FlexApp with a feature called ONE. With the latest release, Liquidware shows that it’s still possible to revolutionize the application layering space. In this blog, we will look at this new feature.
With self-contained applications, you can create a FlexApp application layer that isn’t a VHDX but an EXE. Starting the FlexApp ONE .EXE will automatically check if you have the Liquidware Container service installed; if not, it will auto-install in seconds. After that, it attaches the built-in application layer disk and starts the application. The application works as you installed it on your system, including context menus and file type association. But there is no installation time, so an application starts in seconds and is fully available. And the standard Liquidware FlexApp features are also still there, like session isolation and supporting multiple OS versions and builds with the same package.
The self-contained packages are just EXE files, so you can integrate it in any provisioning tool you use like SCCM, Intune, Ivanti Automation, etc… But you can also just put them on a file share or a storage container in the cloud and run them cloud-based. You can also copy FlexApp packages to endpoints, and they can then just run them offline. There are now so many use cases possible. You can easily package these EXE’s with Intune and show them in the company store without being worried how the package is installed. This means no more figuring out how to silent install something! This also means that the distribution can take place without ProfileUnity. Making FlexApp an incredible stand-alone product.
So how do you use FlexApp ONE?
In this how-to I will show you how to create a self-contained package for Visual Studio Code.
- Well first off, we of course need to make sure we have the latest version of FlexApp from https://Liquidware.com.
- Now we need to install the packaging console. For this it is best to create a clean VM (you can compare it to a sequencer VM). Follow the guide to best setup this VM: https://liquidwarelabs.zendesk.com/hc/en-us/articles/209291346-Best-Practices-How-To-Optimized-FlexApp-Packaging-Console-and-Gold-Image-for-DIA-FlexApp-creation-deployment
- After installing the console on the packaging VM we can start up the console with the shortcut on the desktop FlexApp Packaging.
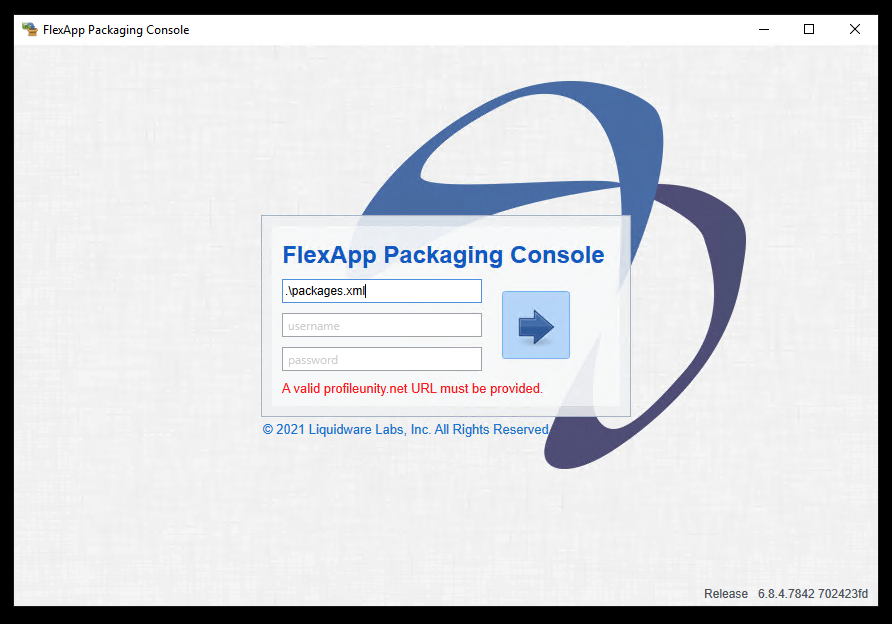
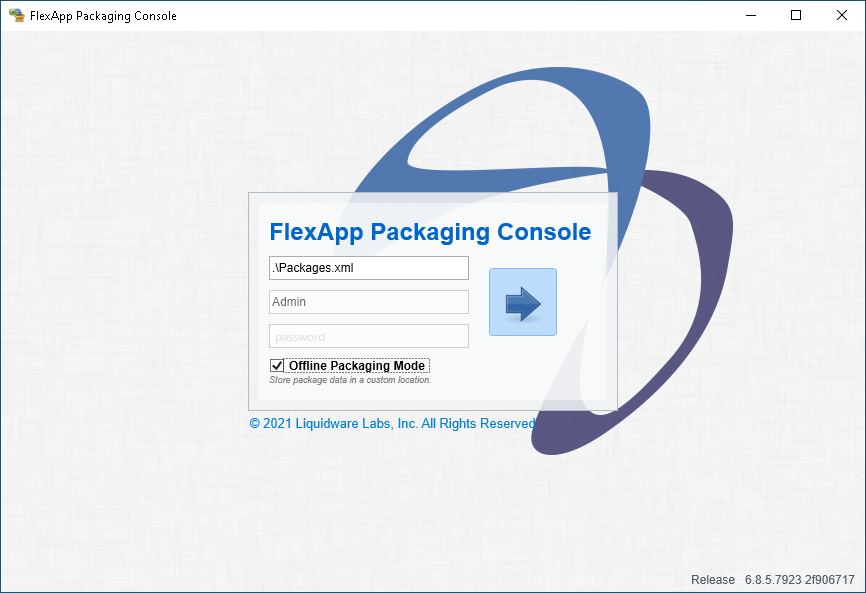
- Now we need to sign into FlexApp. Here it’s a bit tricky because we don’t have a Profile Unity server running, we need to sign into offline mode. You do this by entering “.\packages.xml” in the URL and leaving the user and password empty. There is a new version of the packaging console on its way that will have a checkbox for offline packaging.
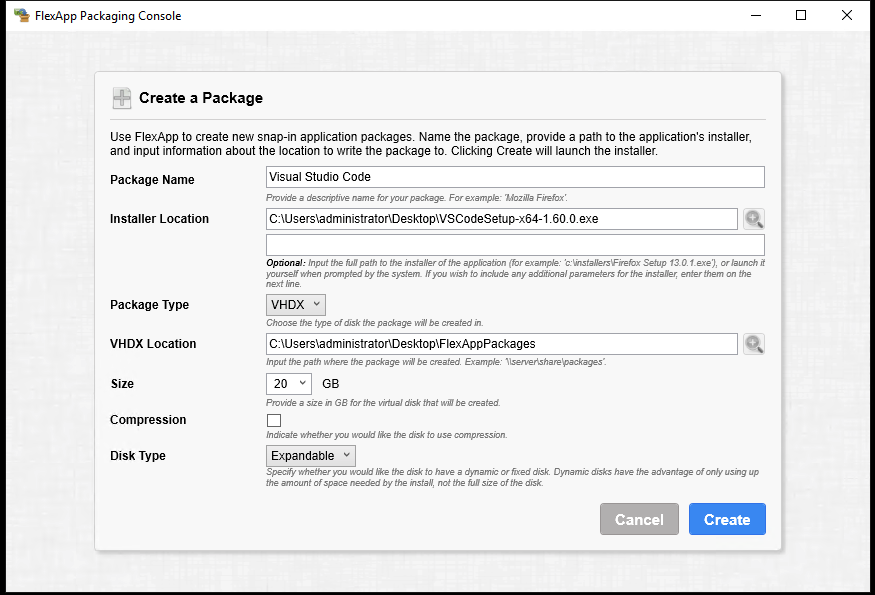
- In this example I am going to package Visual Studio Code. We first create a standard FlexApp VHDX Package which we will then convert to the standalone package. If you already have an existing package you can skip this part. Click on Create and fill out the fields.
- Now again click on Create to start the installation, the software installer will come up automatically.
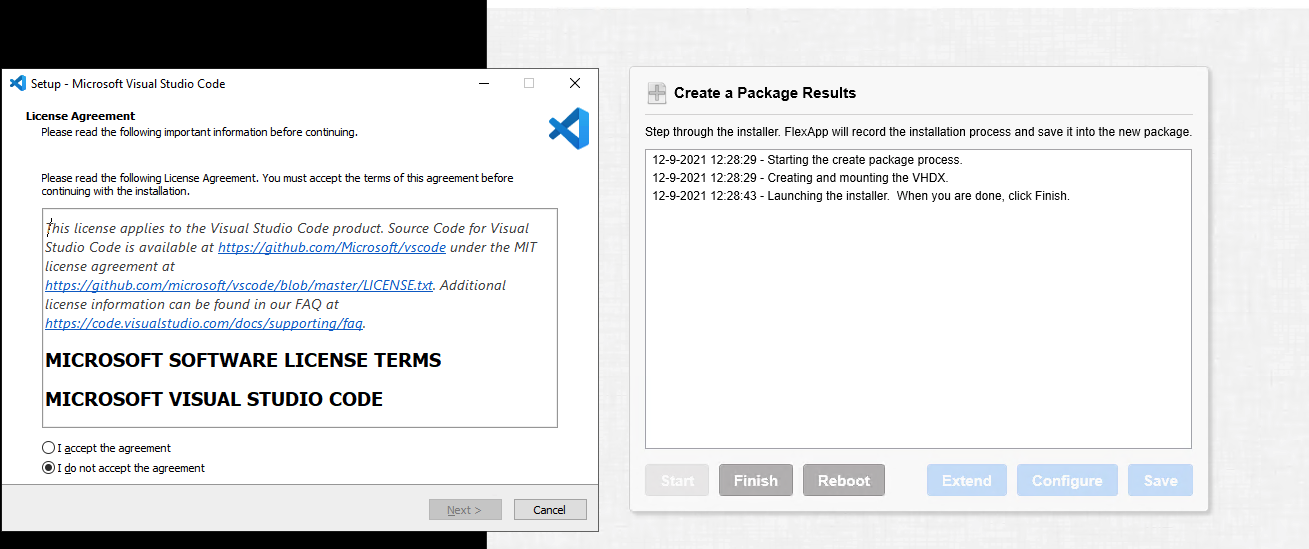
Now you can just finish installing the application like you would normally do. - After the installation is done click on Finish to finalize your FlexApp Package.
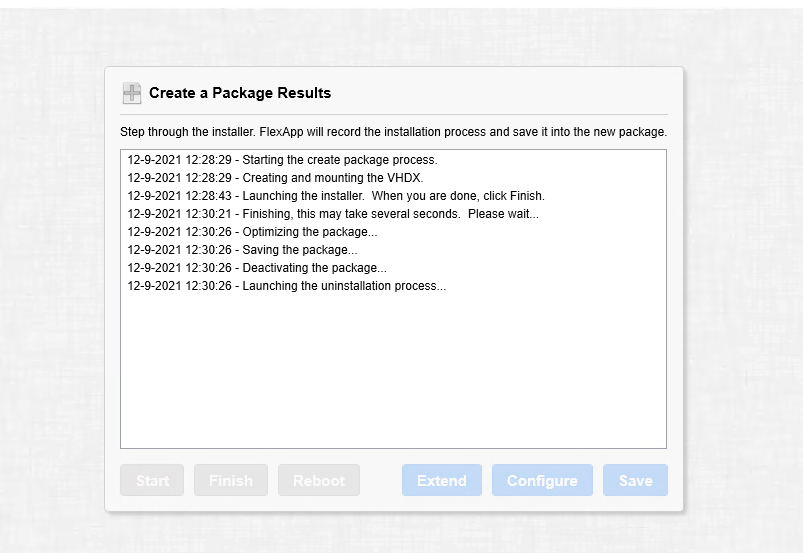
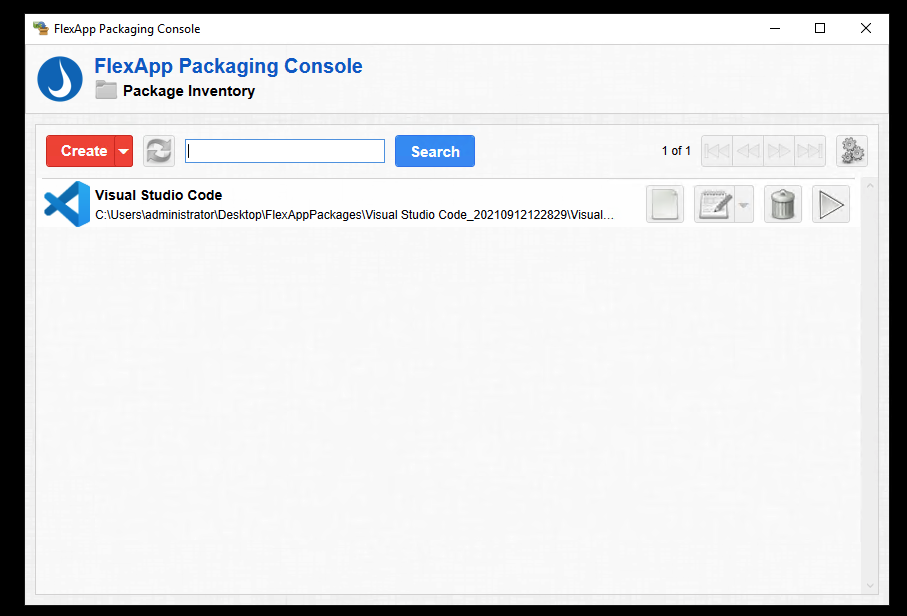
- Now we click on Save and it should bring you back to the console were we now see our package.
- To make a bundle package we need to run the Bundler engine. This is a PS1 script you can find in the installation directory. Open PowerShell and browse to the installation folder. And run the bundler-engine.ps1 add the path to where the FlexApp Packages are installed at the end. In this example the command line is: .\build-engine.ps1 ” “C:\Users\administrator\Desktop\FlexAppPackages\Visual Studio Code_20210912122829”

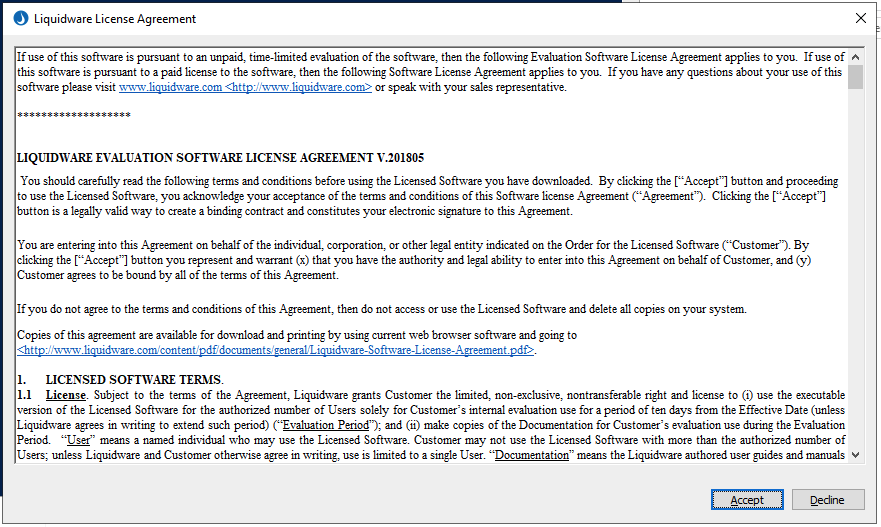
- If the command line is correct, you should now get a pop-up for the Liquidware License Agreement. You can click on Accept.
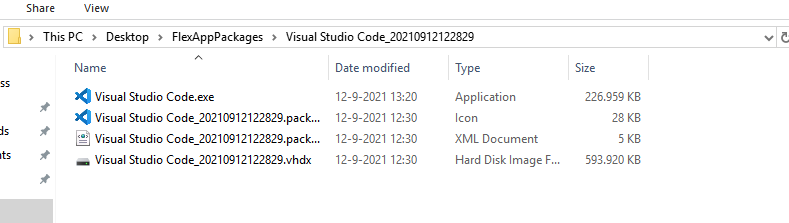
- Once the script is done you will now see a Visual Studio Code.exe in the folder. The next version of the FlexApp Package console will also support the conversion option to FlexApp One files out of the box, so you don’t need to run the PowerShell.
- Now it’s time to distribute our package. In my test I copied the EXE to VM that doesn’t have Visual Studio Code or Liquidware installed. You do get a pop-up that the Liquidware Container service is not installed and needs to be installed. Keep this in mind when distributing packages. The Liquidware Container service is also included in the installation media as a separate installer and can be distributed easily with Intune or any other automation software.

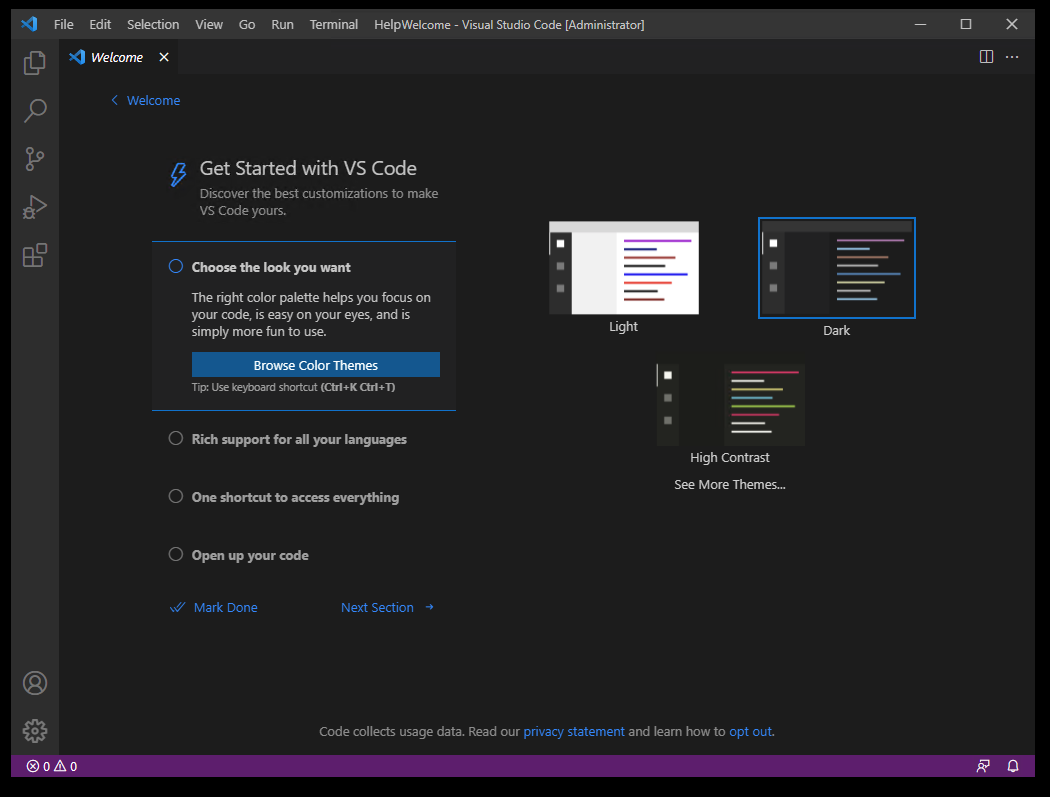
- After clicking Yes the container services installed the FlexApp engine and Visual Studio Code was launched in seconds after. Because the package is mounted there also is no installation time!
These are some significant features coming to FlexApp with One. I’m looking forward to seeing what the future of application layering holds. Liquidware has shown that there are still many cool features that can be added to this incredible technology.
I hope this was informative. For questions or comments, you can always leave a reaction in the comment section or contact me: