
Using Ansible as a Windows Admin with Visual Studio Code, a complete guide!
 Ansible is an incredible open source automation tool. And as you might know my motto is Automate Everything! But to do so we need a good automation platform. I often use Ivanti Automation, which is awesome, but what if you want to use an open source automation tool? Then Ansible is the answer. But unlike Ivanti Automation it is not a simple Next-> Next->Finish installation and there is not a simple Windows management console. But it doesn’t have to be that difficult if you use Visual Studio Code. Because you use VS Code to manage your Ansible environment and run playbooks (collection of automation tasks).
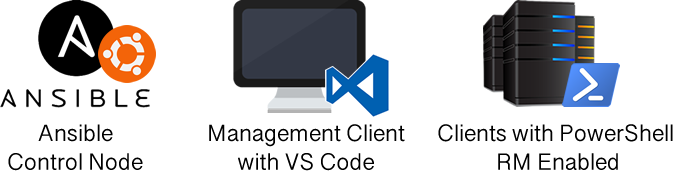
![]() In this guide I will show you how to setup a Ubuntu Server Ansible Control Node, a management Client with Visual Studio Code and the Windows Clients on which you can run the playbooks. And when everything is setup I will show you how you can manage Ansible from Visual Studio Code as-well as run playbooks from Code.
In this guide I will show you how to setup a Ubuntu Server Ansible Control Node, a management Client with Visual Studio Code and the Windows Clients on which you can run the playbooks. And when everything is setup I will show you how you can manage Ansible from Visual Studio Code as-well as run playbooks from Code.
Jump to:
The Ansible Control Node
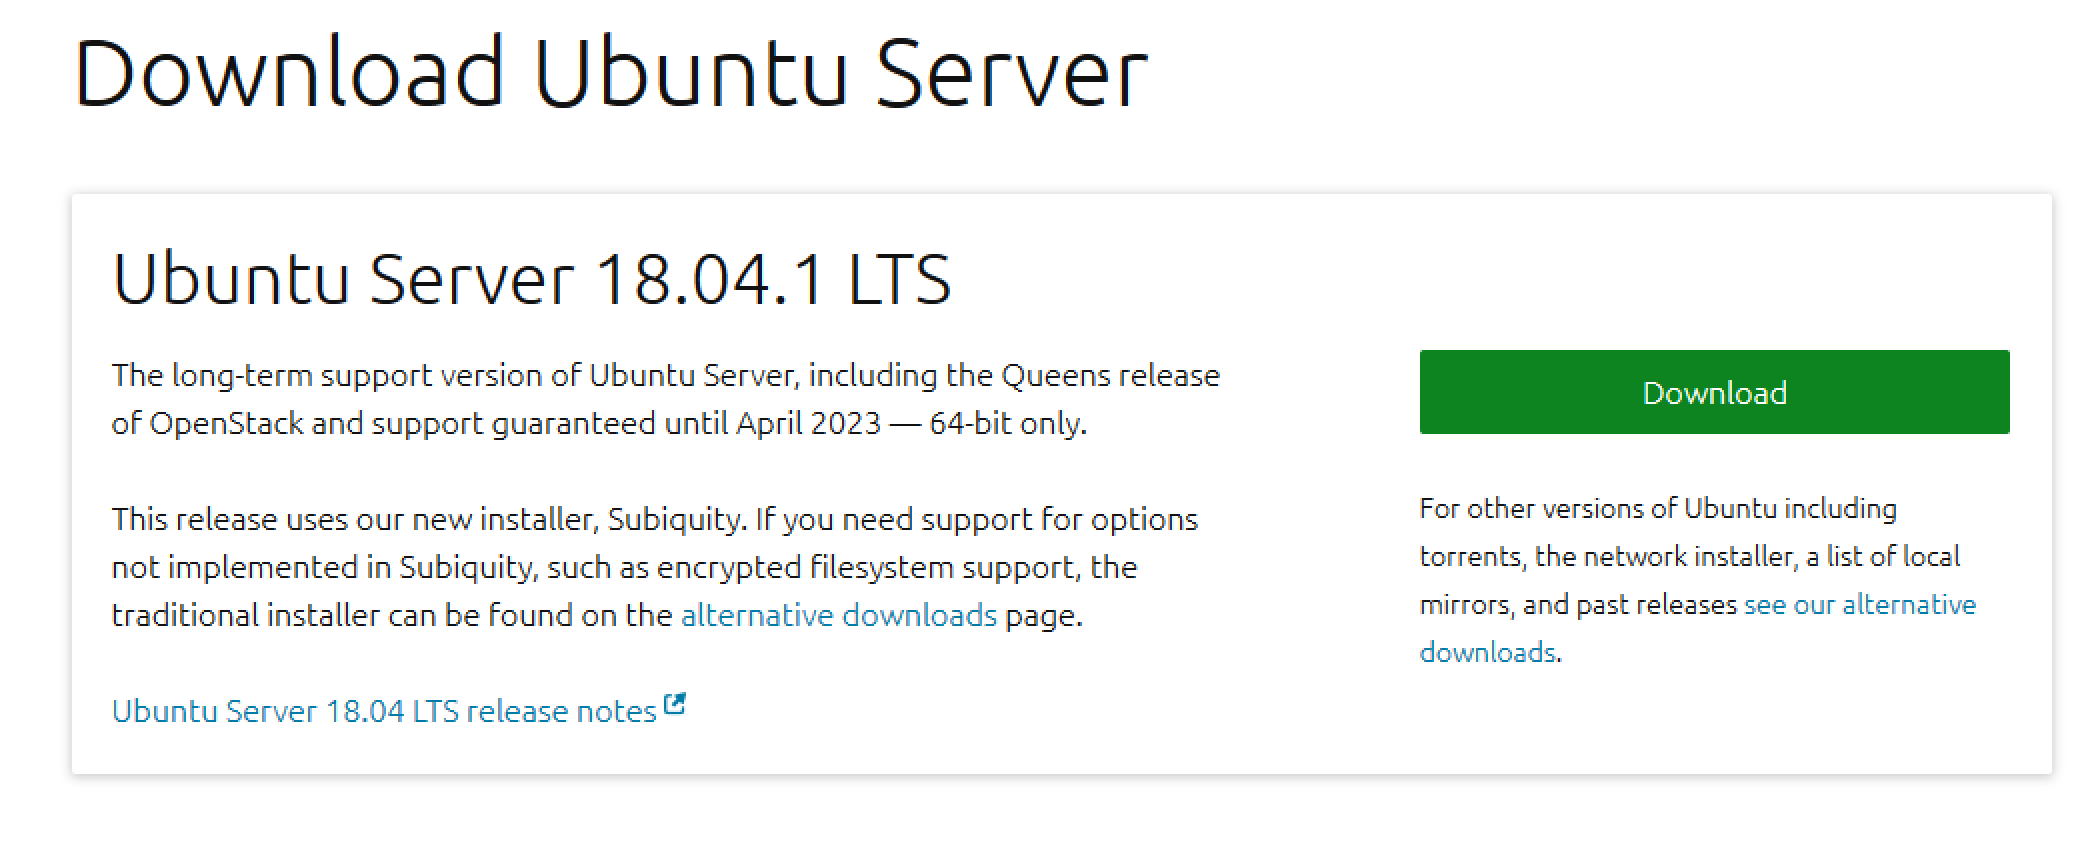
First off we need to create an Ansible control node. Ansible is opensource and the control node can be installed on a whole range of Linux and Unix platforms including MacOS. I choose to install Ansible on Ubuntu Server 18.04.1 LTS. Ubuntu is a well known OS which means there are a lot of guides and the server LTS version has long time support and isn’t full of bloatware. There isn’t even a Desktop GUI. So first off, download your copy of Ubuntu server from here.
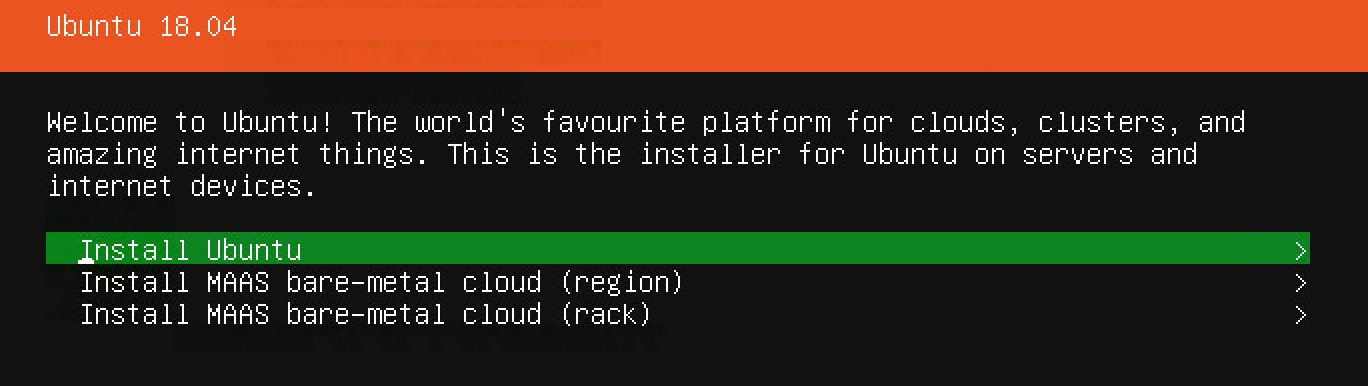
After you downloaded the ISO you can now install your Controller node. Boot your VM or machine from the ISO and select Install Ubuntu.
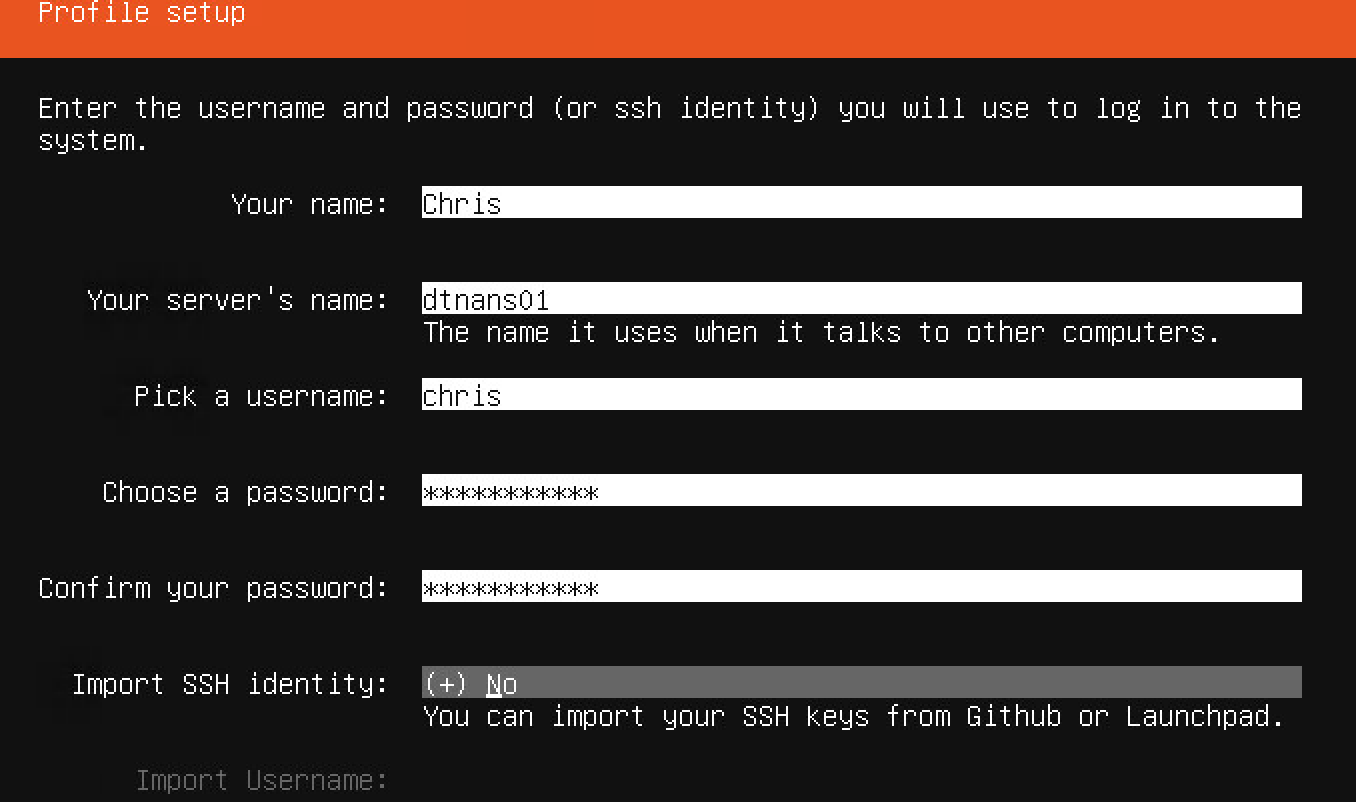
I won’t show every installation screen because it’s just next->next->finish. But the last screen is of course important to give your control node a name. Mine will be the DTNANS01 and my admin user will be chris. This information is of course needed later on.
After that the installation will finish and your server will reboot. That’s also everything we need to do on the server. From now on we will do everything from our Windows Management Client. The management client can of course be Windows 2016 or Windows 10 etc. Download PuTTY the free SSH client from here. After that install PuTTY on your management client. And start up PuTTY.
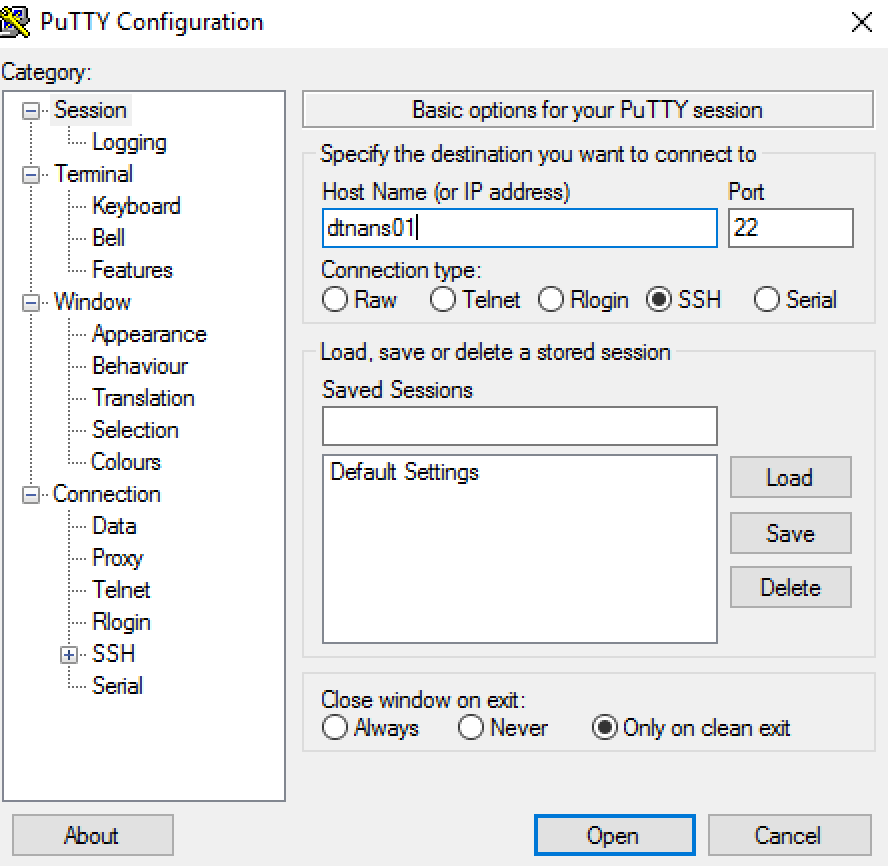
Once PuTTY has started, fill-in your host name at Host Name and click on Open.
You will now get a SSH key warning. Click on Yes. After that you will be asked for your username and password. These are the credentials we entered during install, so for me it’s chris and my password. After that you will get the welcome screen as below.

So now comes the hard part for us Windows Admins, we need to start using the Linux Bash commands. Luckily we only need to enter a few. First off, we need to add the Ansible repository to the OS. This way we will download and use the latest Ansible version from Ansible. We do this by entering the following command.
sudo apt-add-repository ppa:ansible/ansibleNow that we have added the Ansible repository we need to run an app update. This will update the list of available packages. We do this with the following command.
sudo apt-get updateNow we need to install Ansible. We do that with the following command. If you get prompted to enter Yes or No, fill in a Y and press enter.
sudo apt-get install ansibleNow Ansible is installed and we need to edit the configuration file. To edit a text file in the command line I like tot use Nano. It’s a simple text editor and gives you clear options in the bottom. Run the following command to open the config file.
sudo nano /etc/ansible/ansible.cfgIn nano you can move your cursor around with the arrow keys. Go to the line starting with #inventory and remove the # sign.Then after the = symbol enter the following path /home/yourusername/Production/inventory
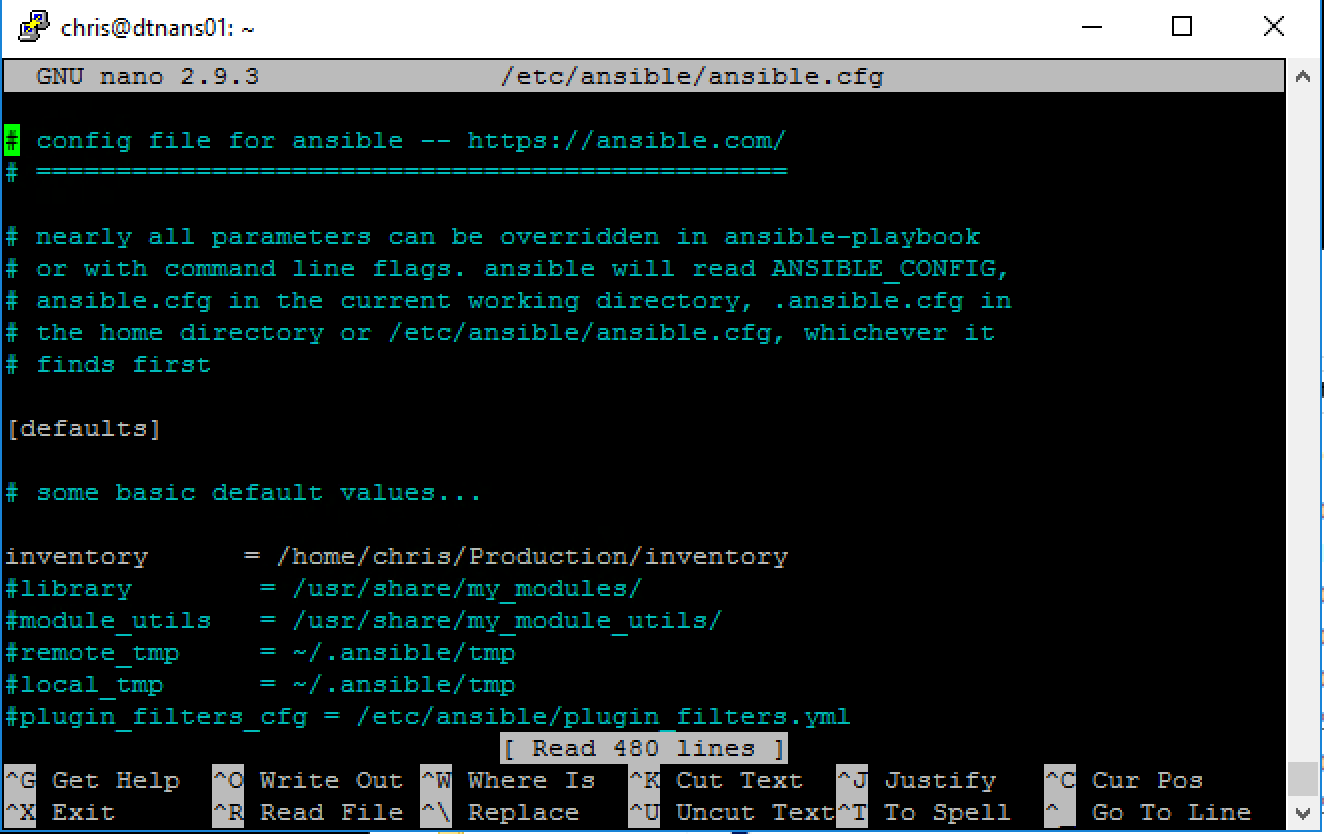
In the image above you can see I entered /home/chris/Production/inventory. Now save the file with CTRL+X and give a Y when asked to save. Then press enter, this will bring you back in the bash shell.
Now we need to install python pip, pywinnrm and kerberos so that we can authenticate to our Windows systems and run playbooks on them. Enter the following commands.
sudo apt install python-pipsudo apt-get install python-dev libkrb5-dev krb5-usersudo pip install pywinrm[kerberos]Now we only need to configure one last config file. We are going to edit the krb5.conf file again with nano. We do this with the following command.
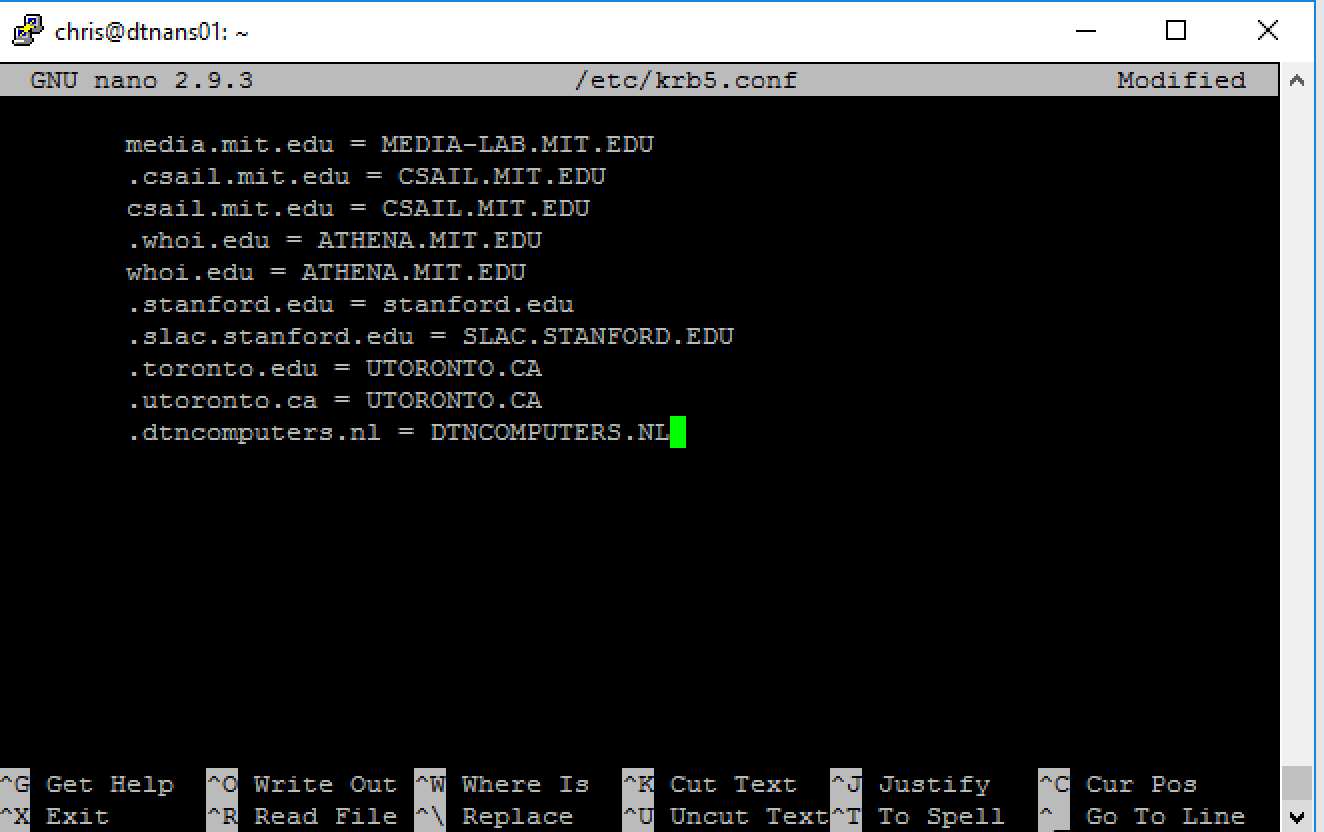
sudo nano /etc/krb5.confAgain you can navigate the conf in nano with the arrow keys. Go to [realms] and create your domain name in all CAPS. As you can see you also need to add your domain controls as kdc. My domain controllers are the dtndc001 and 002 so added the following information to the file.
DTNCOMPUTERS.NL = {
kdc = dtndc001.dtncomputers.nl
ldc = dtndc002.dtncomputers.nl
}
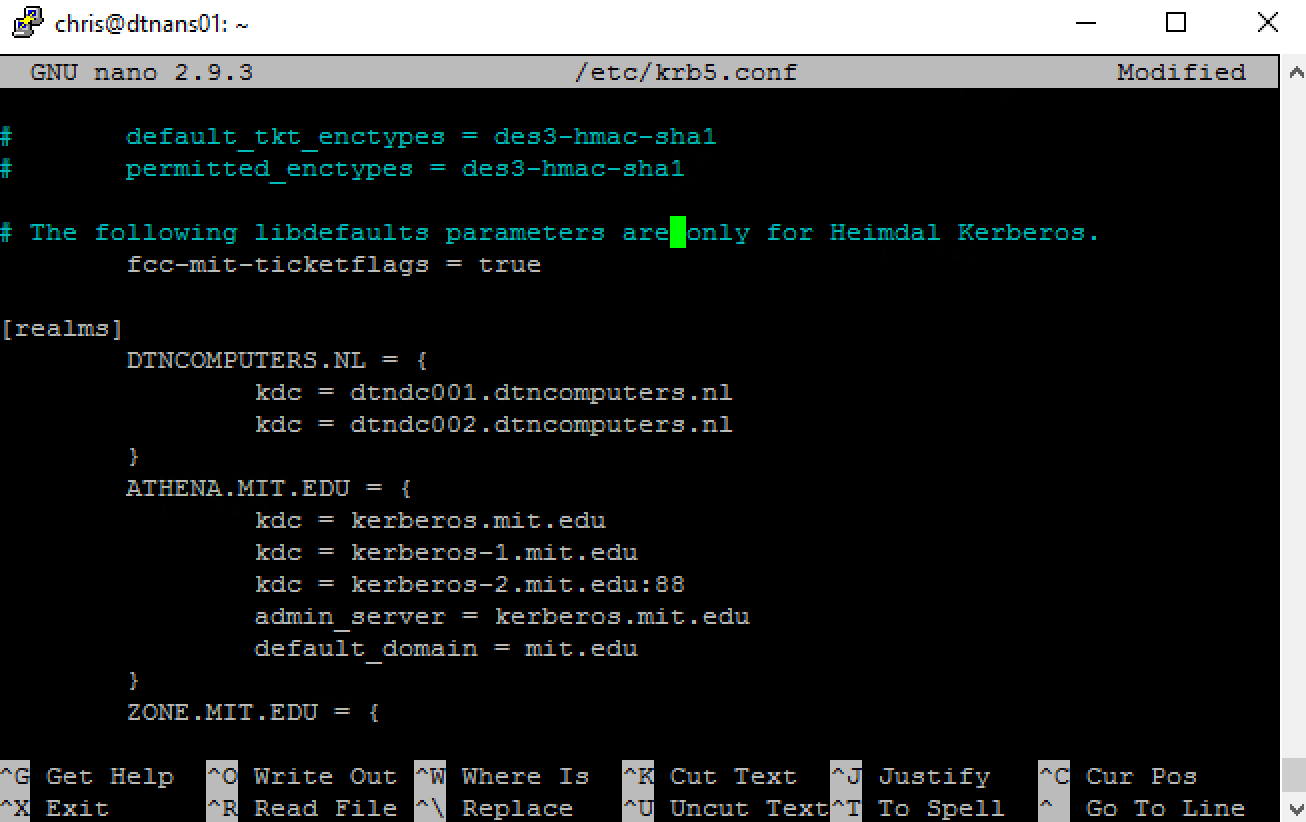
After you added your domain under realms, scroll down with the arrow keys to the last line and add your domain there as well. You do this by entering your domain name with a . in the front and then = domain in CAPS. So I entered .dtncomputers.nl = DTNCOMPUTERS.NL
Now again press CTRL+X and give a Y to save the file. Press ENTER to return to the bash. We are now completely finished with the Ansible controller setup. And from now on we don’t need to touch the bash again. You can close your PuTTY session by typing in EXIT.
The Clients
This chapter is a lot shorter and easier than the last one. The clients are of course the machines on which we are going to run the Ansible playbooks (collection of automation tasks). Ansible does this through PowerShell Remote Management (RM). So we need to configure PowerShell RM to allow Ansible to connect. To do this you only need to run one script which you can find here on GitHub. The script is written by people from the community and Ansible.
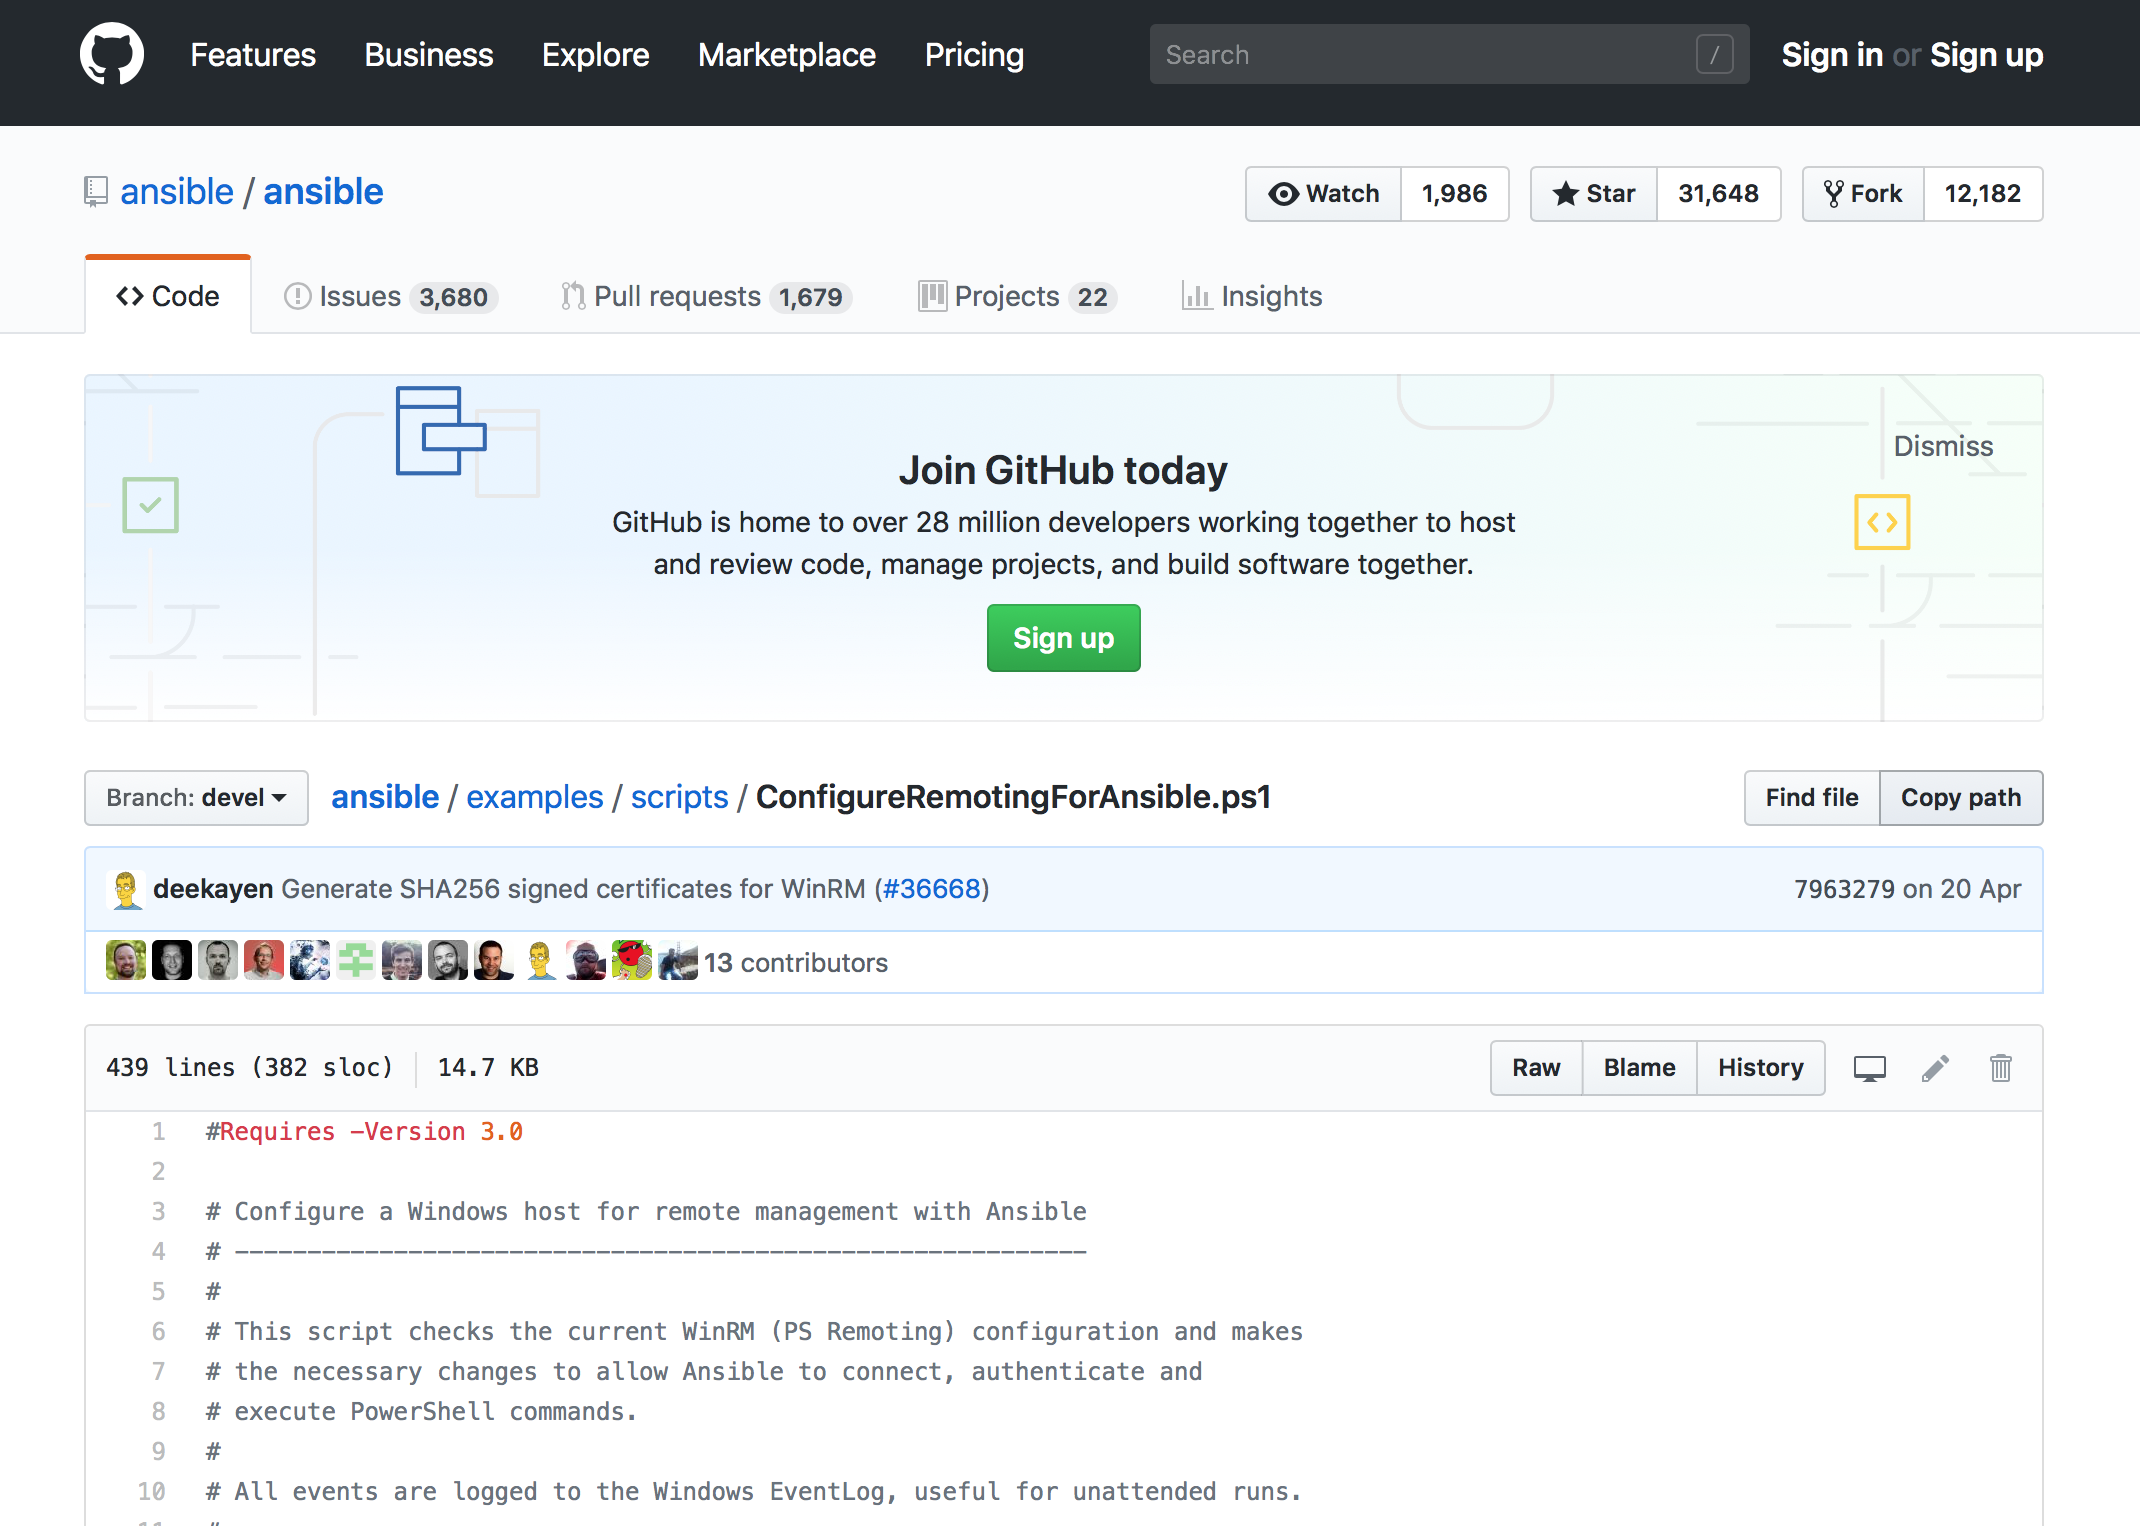
After running the script on a client machine (Windows 2016 or Windows 10 etc..) the client is ready to receive Ansible playbooks.
Visual Studio Code on the Management Client
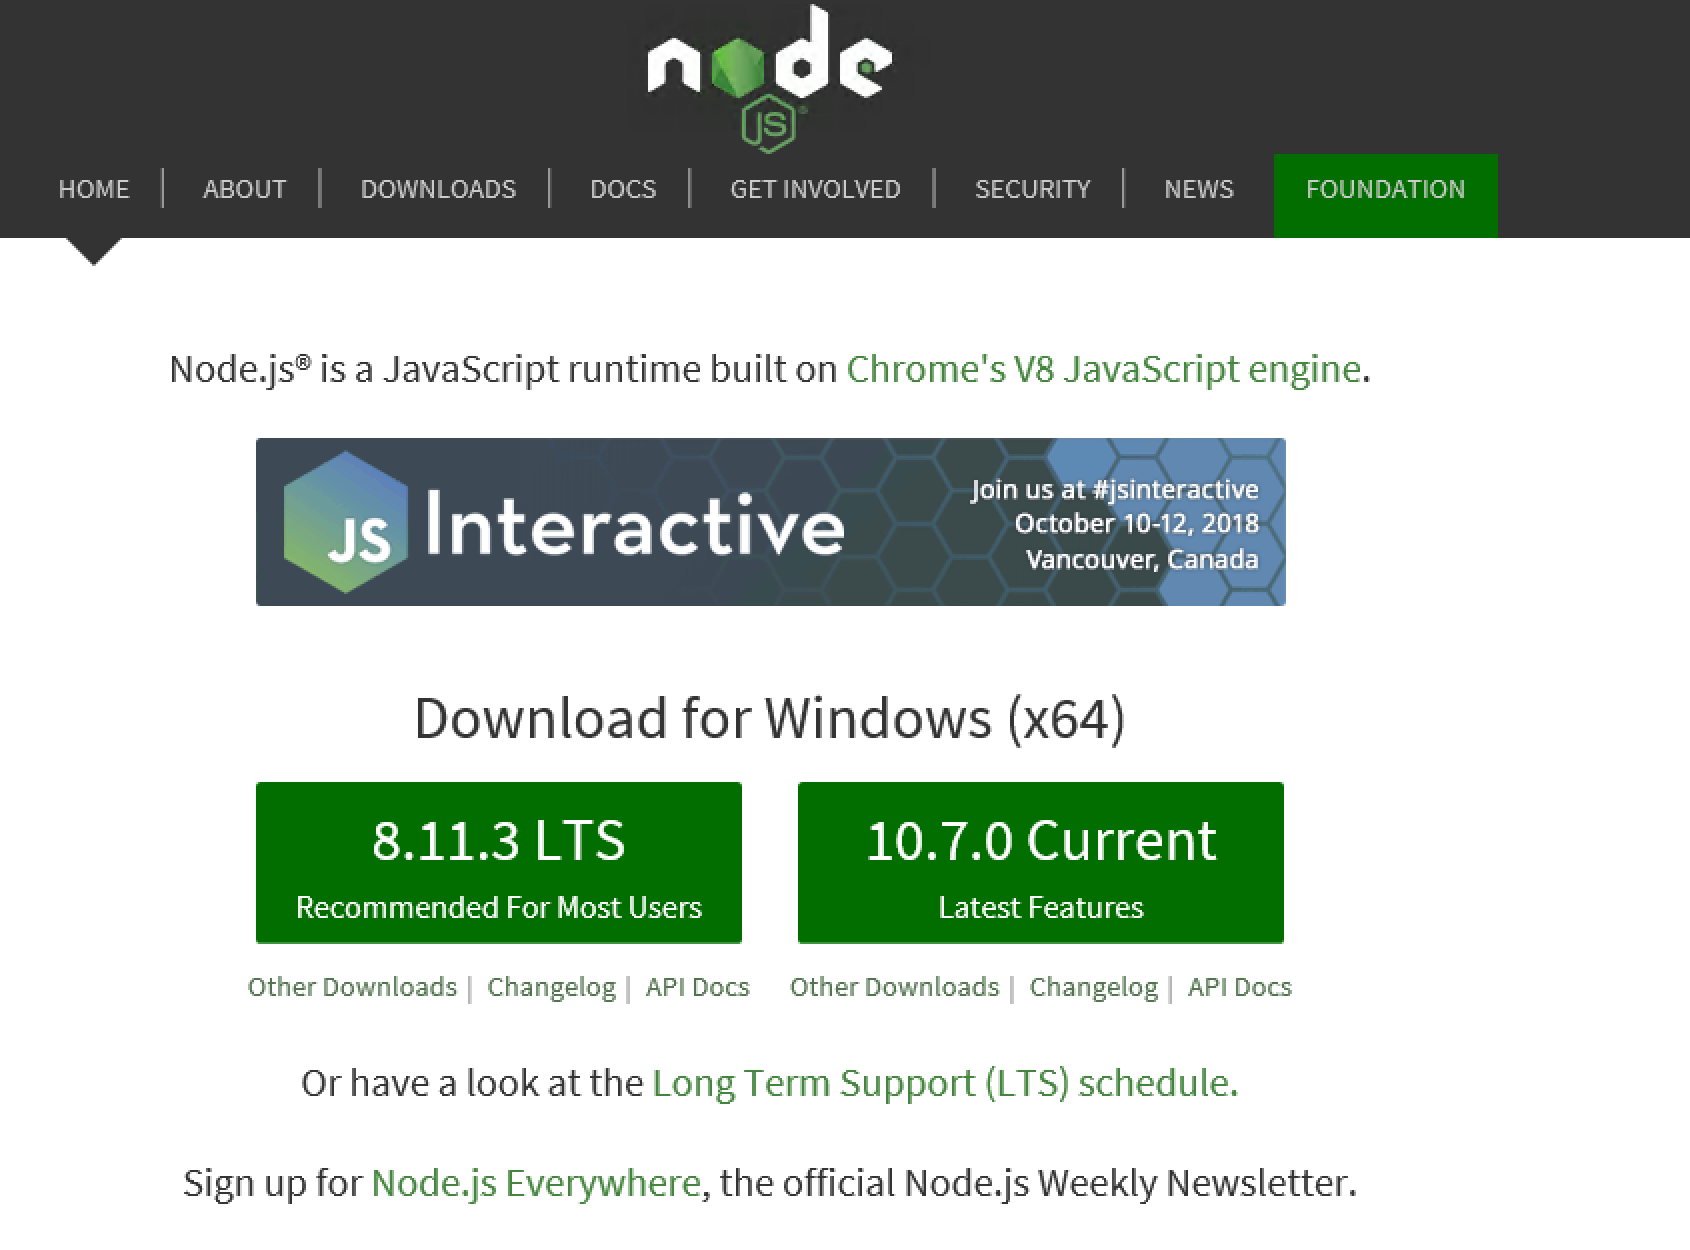
 As I said in the intro we are going to manage Ansible and run playbooks from Visual Studio Code so that we, the Windows Admins, don’t have to do anything anymore with the Linux Bash ;). In my demo I use a Windows 2016 server as the management Client. First we need to install node.js on the management client, you can find that here.
Select 8.11.3 LTS and download the installer.
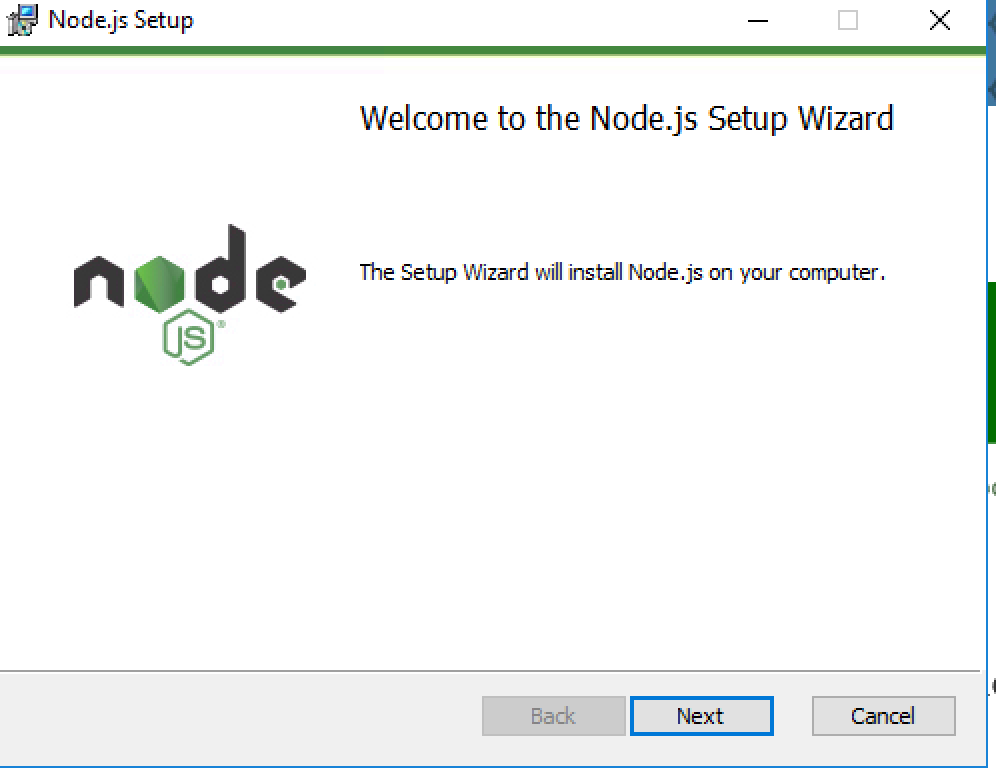
After the download, run the installer. You can just click Next->Next->Finish.
Once the installation is finished we need to install Microsoft Visual Studio Code. Which you can download here.
After you downloaded Code you can install it also just by using Next->Next->Finish.
Now we need to create a Workspace in which we will save our Ansible inventory file (which will hold all FQDN’s of the clients), our playbooks and group vars. The easiest way to do this is by creating a Production folder in My Documents in that folder create two folders one named Playbooks and one name group_vars. In the root of the folder create a file named inventory and in the group_vars folder create a win file. You can download this folder structure which also includes some playbook examples here.


Now open Visual Studio Code by clicking on the icon.
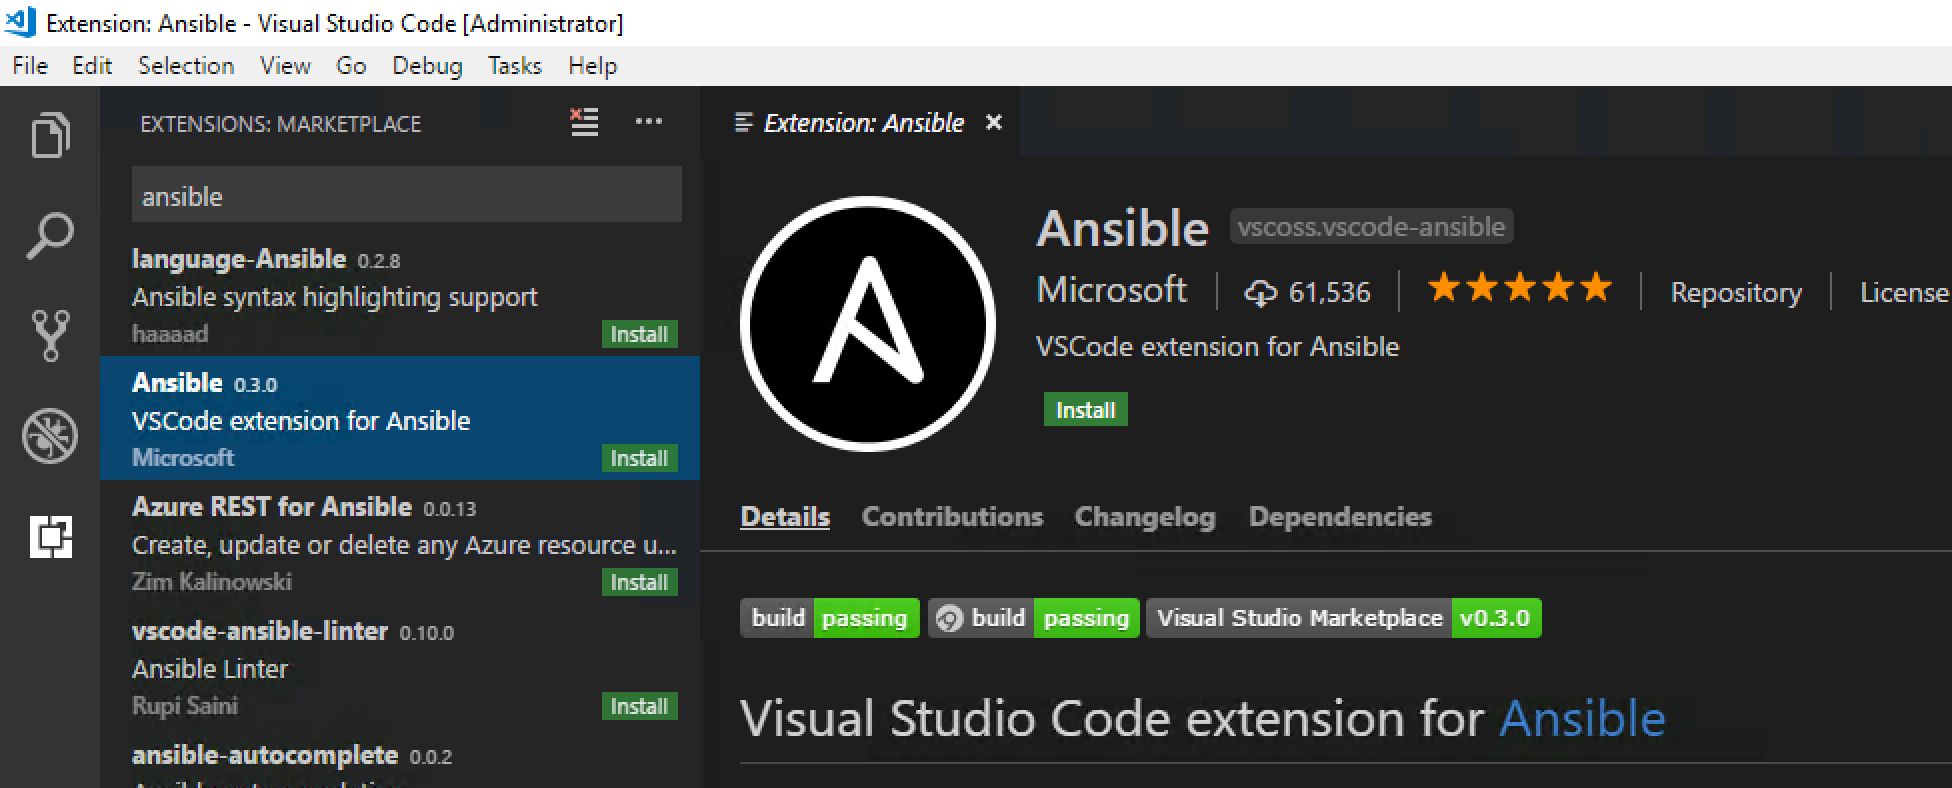
Click on the left side on the Extensions symbol and in the search field type in Ansible. When found click on the Install button next to the Ansible logo.
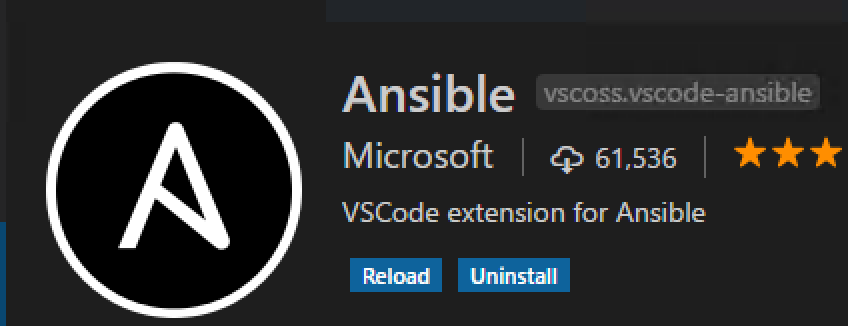
Once installation is finished click on Reload where first the install button was.
Now click on the file symbol on the left and click on Open Folder.
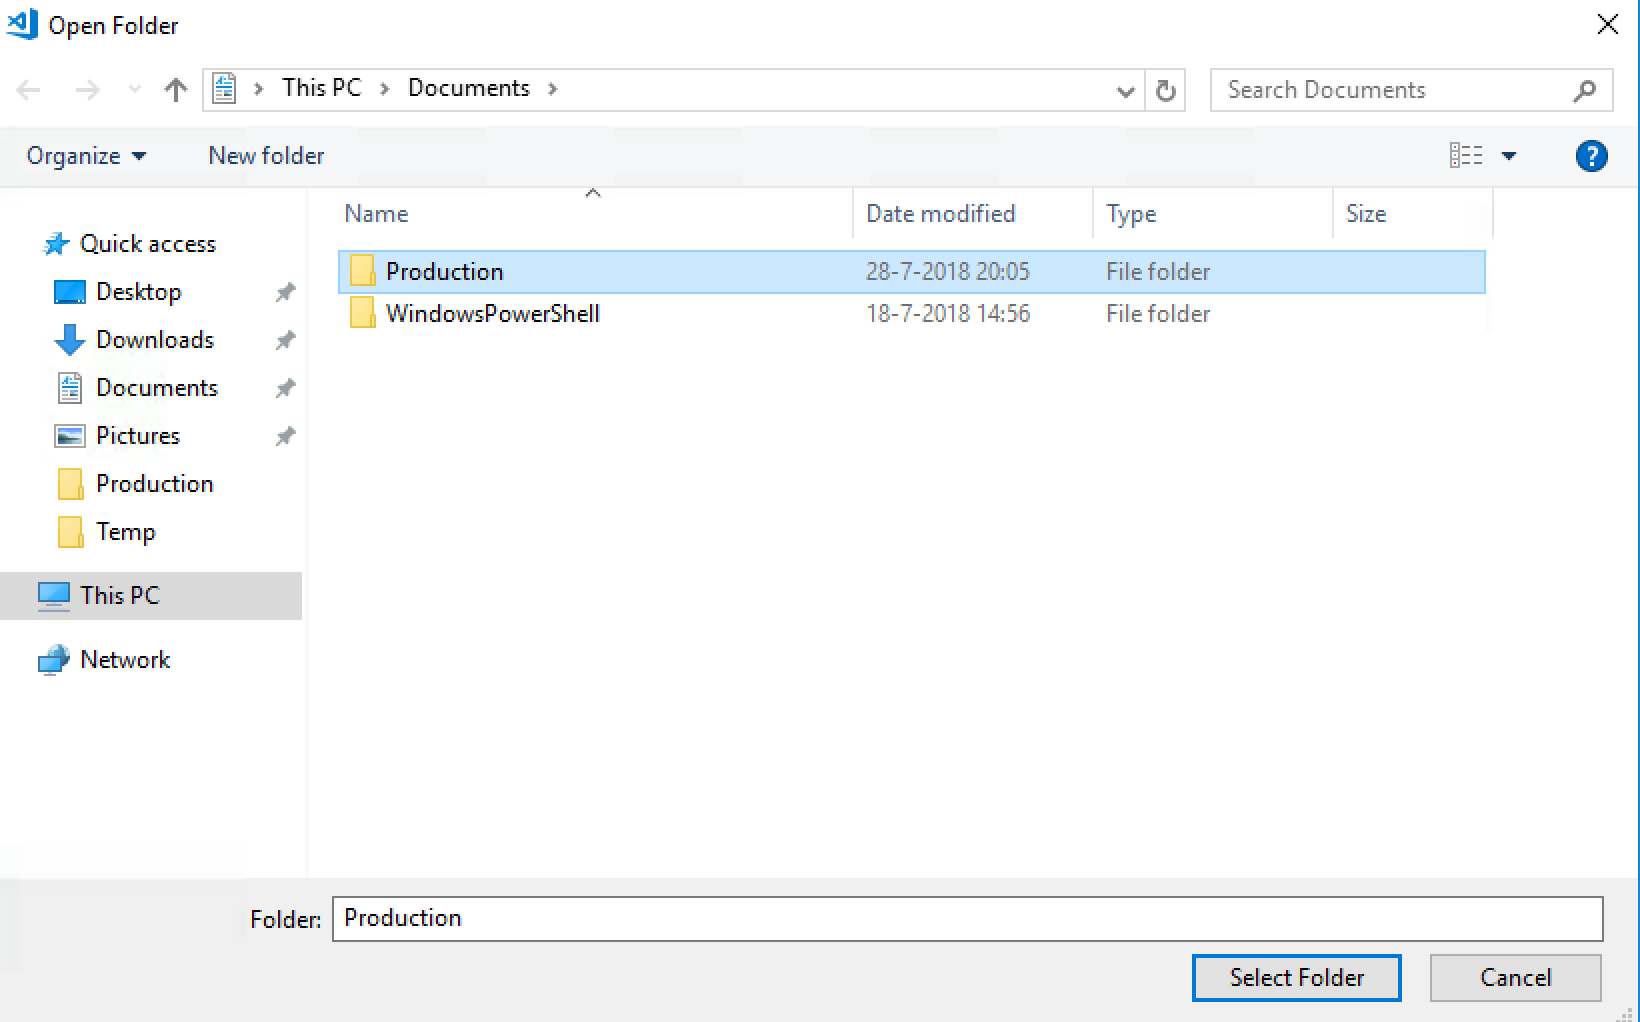
Now browse to the Production folder in My Documents. And click on select folder.
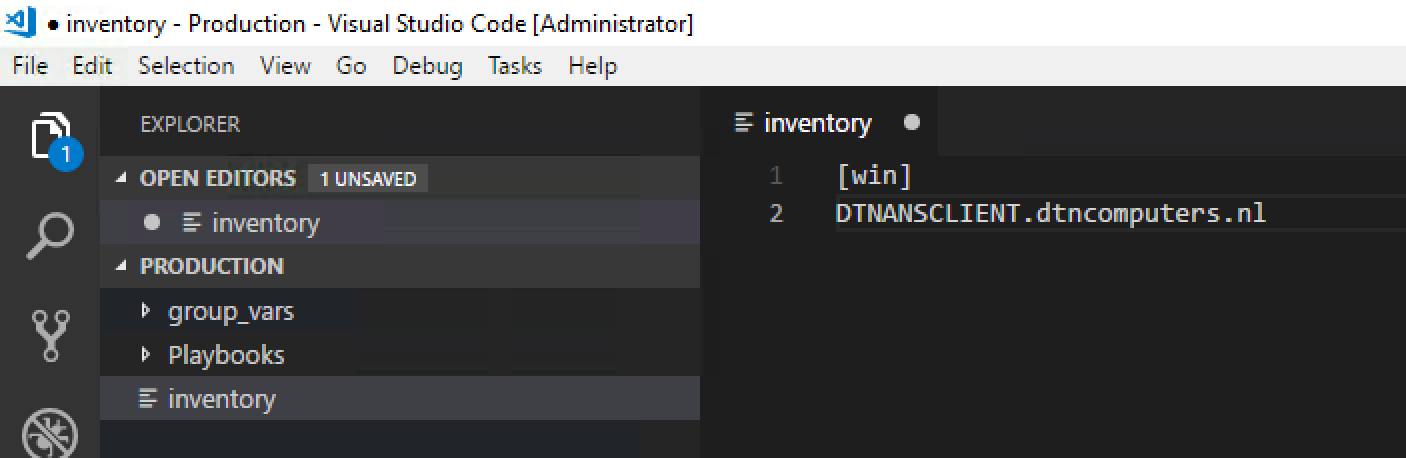
Now the Ansible Workspace is open and we can start editing the vars, inventory and playbook files. First open the inventory file by clicking on it on the left. In the inventory file add the [win] and under there add the FQDN’s of your clients. In my example it’s DTNANSCLIENT.dtncomputers.nl after that save the file.
Now open the win file under group_vars. Add the following information:
ansible_user: serviceaccount@DOMAIN.COM
ansible_password: ‘P@ssw0rd’
ansible_connection: winrm
ansible_winrm_server_cert_validation: ignore
ansible_winrm_transport: kerberos
Of course the service account must be local admin on the Clients and the domain name must be in CAPS. The password must be changed in the password of the service account.

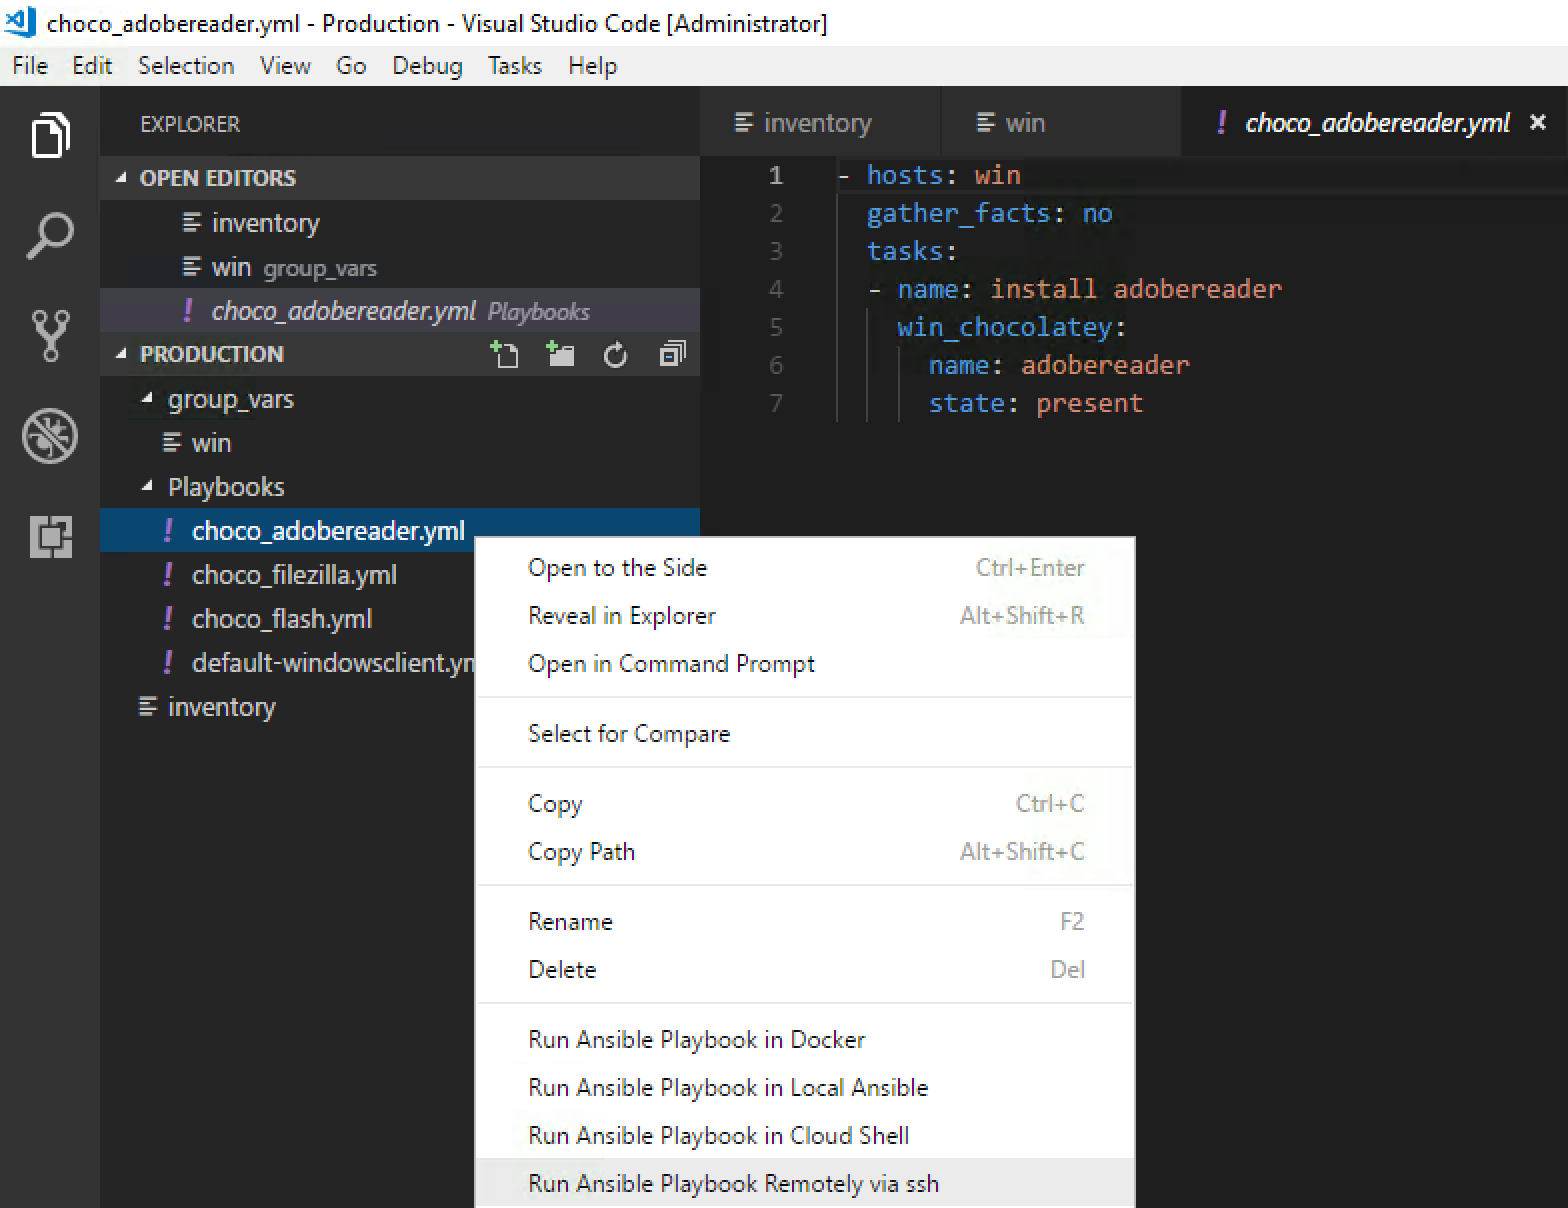
Now that’s done we can run a playbook. You can create your own playbook by following the Ansible documentation here. Or if you used the .ZIP included with the blog you will have some example playbooks under the playbooks folder. In the playbook example below we are going to install Adobe Reader with Chocolatey packager on the client machine. Click right mouse on the choco_adobereader.yml and click on Run Ansible Playbook Remotely via ssh.
In the top bar Visual Studio Code will now ask you for the Host Name of your Ansible Control node, Username and Password. These are of course the same as we created during the installation of Ubuntu.

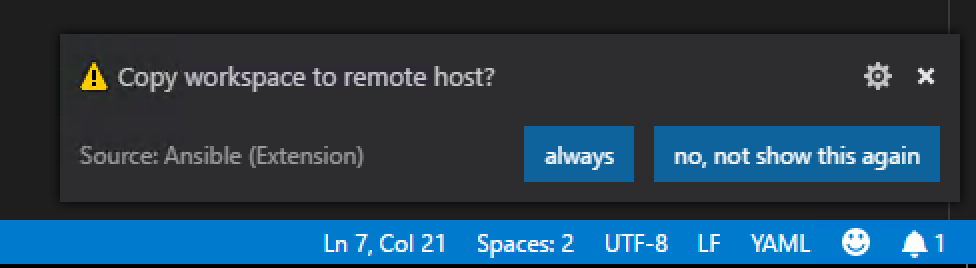
After that Visual Studio Code will ask if we want to copy our Workspace to the Ansible control node. of course we want to do this so select Always.
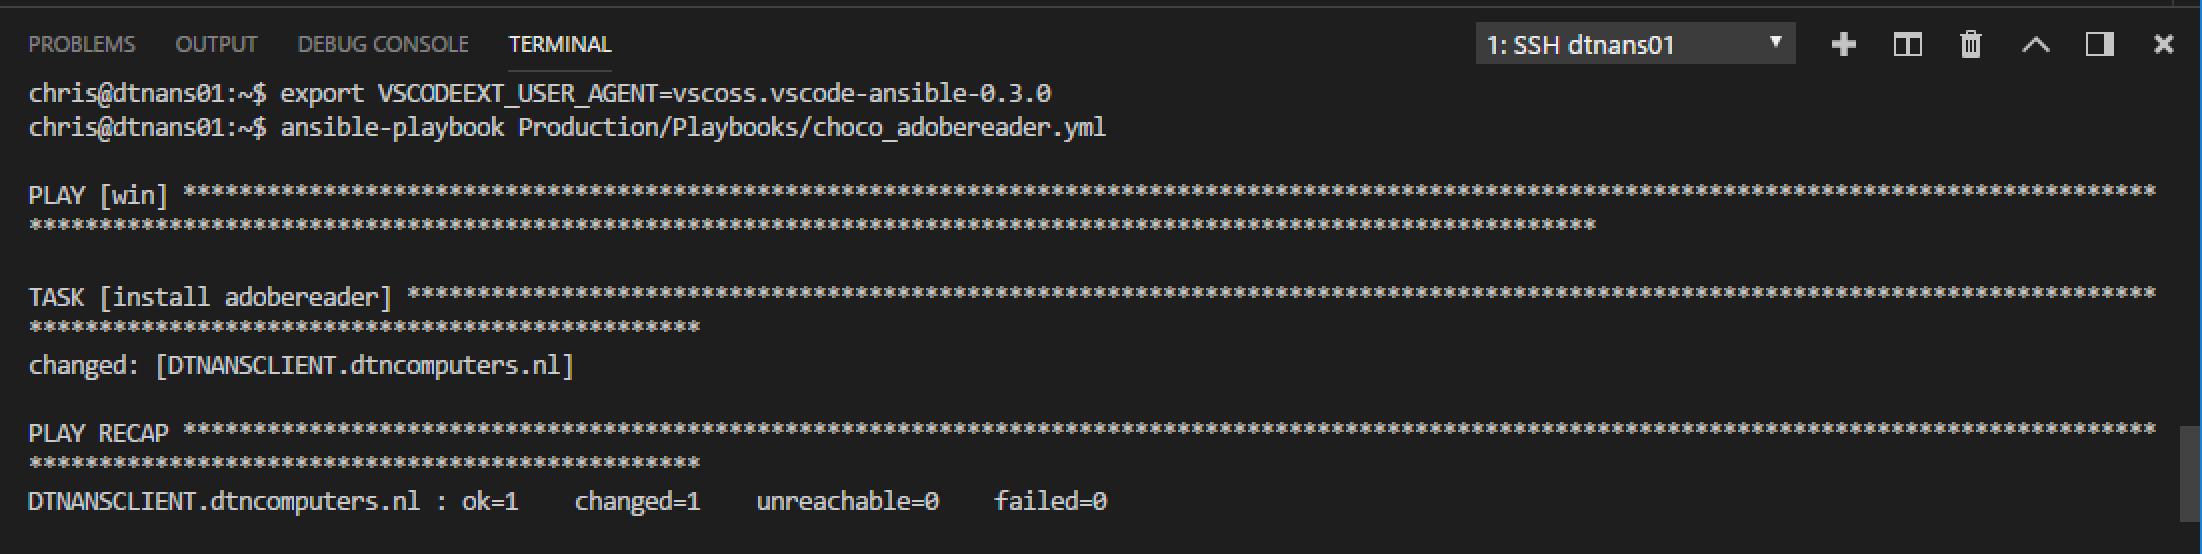
Now the playbook will run on the Ansible control node through Visual Studio Code. And we can see that the client has received Adobe Reader.
So from now on we can edit, create and run our variables, inventory and playbooks with Visual Studio Code! In a next blog I will also explain using the Azure Cloud Bash to run your Ansible Playbooks.
I hope this was informative. For questions or comments you can always give a reaction in the comment section or contact me:
How can I get this working with SSH keys instead of username & password?
VSCode seems to be ignoring the servers.json file completely.
Sorry i haven’t used it with SSH keys and Visual Studio. Did SSH with bash. Maybe check at the ansible plugin at VS Code page?
Hi Mike, Did you manage to find how VS Code recognizes servers.json. I am facing same issue
Why we need Node.js?
It’s a prereq for the ansible plugin to run yaml with ssh. See https://marketplace.visualstudio.com/items?itemName=vscoss.vscode-ansible
It seems if you have groups_vars/file and inventory file on the controller it will use these files vs the files in your local workspace. Presume this is normal behavior or is there a way to tell Visual Code to use those files in my workspace vs the controller?