
Start monitoring performance today! With Liquidware Stratusphere UX
 A common issue I see at customers is that there are performance issues, but there is no performance monitoring. Often administrators will look at the live performance of a VM in the hypervisor or check the task manager. But this will not give them enough information on why the user experience is deprecated. Also, users often say; “Today the experience is good but yesterday morning between 10 and 12 the experience was really slow”. So how can an administrator easily find the information needed to figure out why the user experience is slow. This can be done by getting the right tool for the job. If you have performance issues you need a user experience monitoring and diagnostic tool! A great user experience tool and diagnostic tool is Liquidware Stratusphere UX. Some of the great features include:
- Real end user monitoring (patented technology).
- Drill down troubleshooting options.
- Extremely detailed inventories and assessments.
- Health checks.
- Custom made dashboards.
- API availability.
- Pro-active alerting.
- Simple to implement.
In this blog I will give you a QuickStart guide on how to start monitoring user experience! And in an upcoming blog I will show you how to diagnose the user experience with real world examples.
- First download the virtual Hub applicance for your hypervisor on http://www.liquidware.com/download in this blog I will use the OVF for VMware.
- Import the OVF in VMware by clicking on Deploy OVF Template.
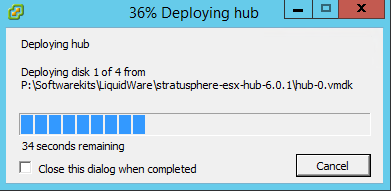
- Browse to the downloaded Stratusphere hub OVF or enter the URL to the OVF download. Follow the import wizard and click finish.
- If everything is entered correctly the Hub applaince will be imported.
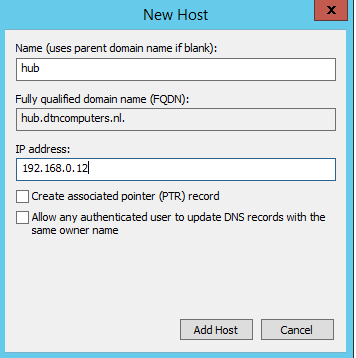
- Create a DNS record for your hub in the Forward Lookup Zones in your Active Directory. In my example I use IP address 192.168.0.12 but you must change this of course.
- Start the hub appliance in your hypervisor and open the console.
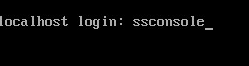
- After the hub is booted press alt+F2 to login.
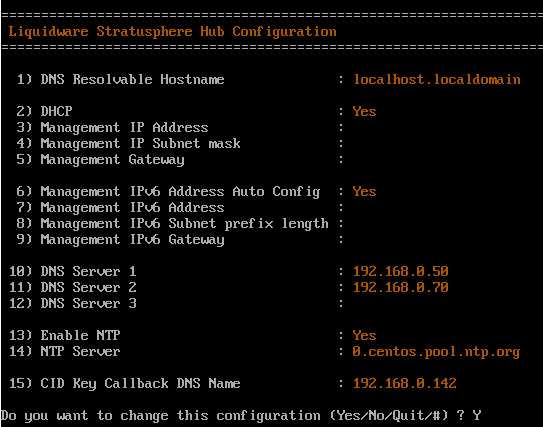
- For the localhost login enter : ssconsole
- At the password fill in sspassword
- Now you entered the Hub Appliance Menu and you must enter a Choice. |

- Fill in N and Enter.
- In the next screen fill in Y and press enter.
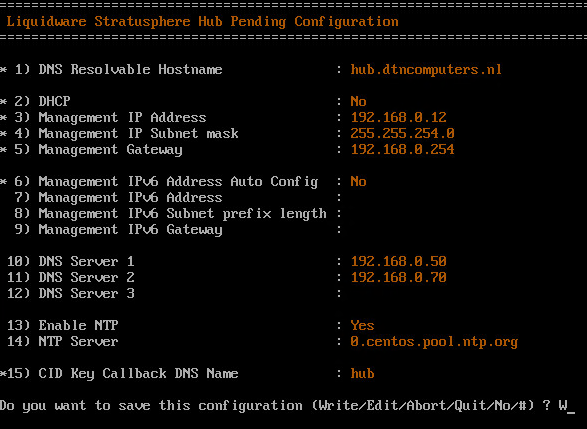
- Now fill in the FQDN of the hub. In my example this is hub.dtncomputers.nl (Must match the DNS record from step 5)

- In the next step fill in N

- In the next step fill in the IP address from step 5

- In the next step fill in your subnet mask.

- In the next step fill in your Gateway address.

- In the next step fill in n.

- In the next step fill in skip

- In the next step fill in your DNS servers IP.

- In the next step fill in y

- If your hub is connected to internet you can choose to leave the current NTP setting and press enter or else fill in your local ntp server.

- This next step is important because this is where we enter the Callback name for the CID keys (Agents). The name here must be the same as at step 5.

- Now you will see a Pending Configuration screen, check your setting and fill in W and press enter.
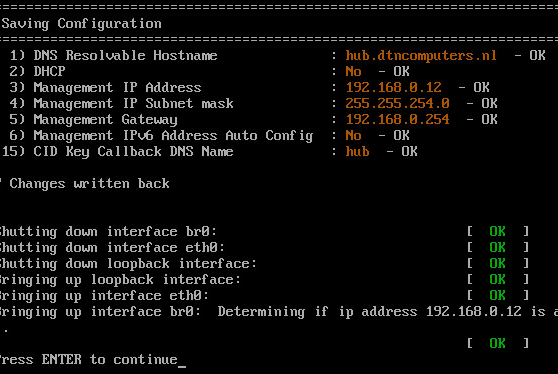
- If everything is entered correctly you will see OK’s , Press enter to finish the configuration.
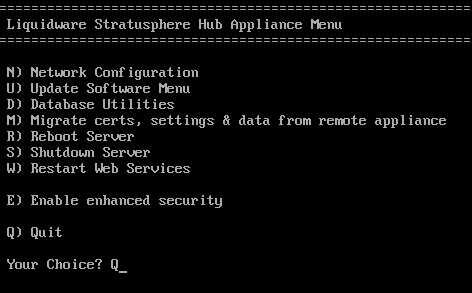
- In the next screen enter Q and press enter and the configuration of the Hub is done!
So, this is the first part of the configuration. The next part takes place in the web browser.
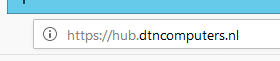
- Open your webbrowser and browse to https://%HUBFQDN% in my example this is hub.dtncomputers.nl
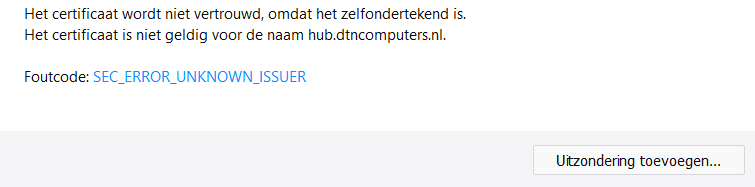
- You will see a certificate warning which you need to accept.
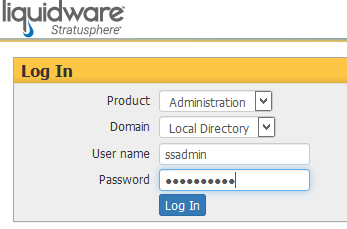
- You can now login to the Liquidware Stratusphere web interface. The default credentials are : ssadmin , sspassword
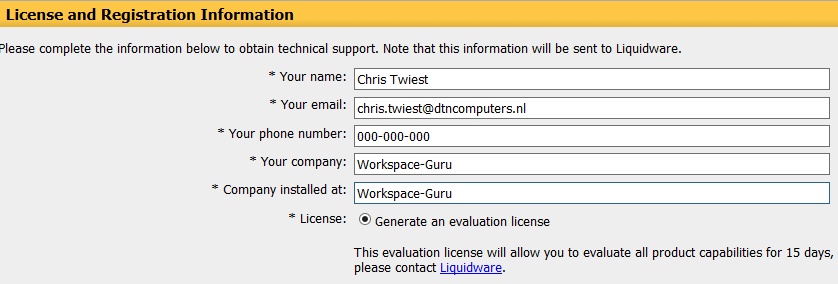
- In the next screen fill in your contact info and enter your license information or generate an evaluation license. And click on Get Started.
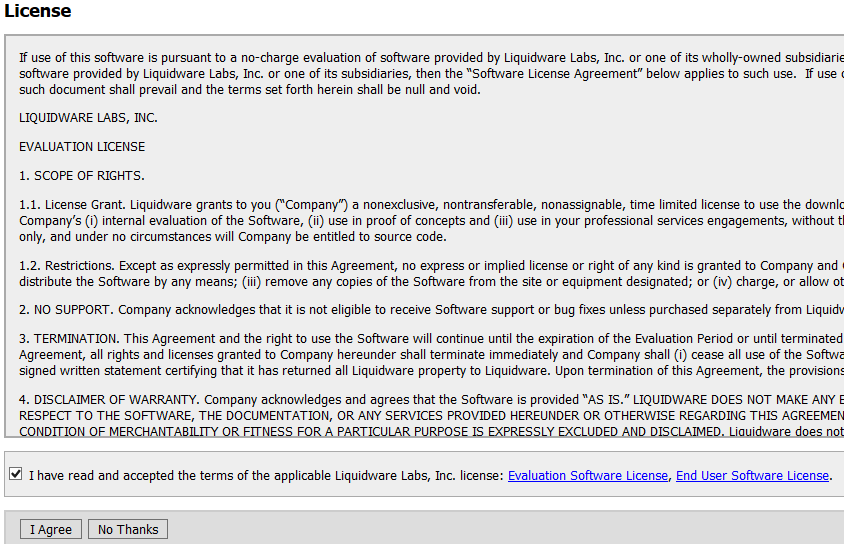
- In the next screen read the license and check ‘I have read and accepted the term’ and click on I Agree.
- Now you have entered the Stratusphere Hub Administration Overiew. Click on the Configuration tab.

- In the configuration tab set your Time Zone to the correct location. In this example it is Amsterdam. And click on Save Changes.

The second part of the configuration is done! We’re now ready to start monitoring user experience! To do so we need to install a CID key (agent) on the users environment. The CID key can be installed on VDI but also on Shared environments like XenApp or RDS. The next steps will explain how to install the CID key.
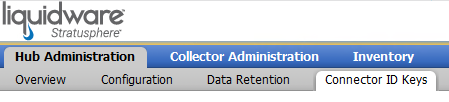
- Go to the Hub Administration tab and click on the Connector ID Keys sub tab.
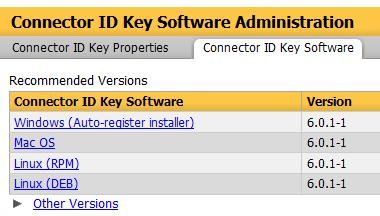
- Now click on Connector ID Key Software and click on the type of CID key you want to download. In this example I want to monitor a XenApp environment so click on Windows (Auto-Register install).
- Save the file.

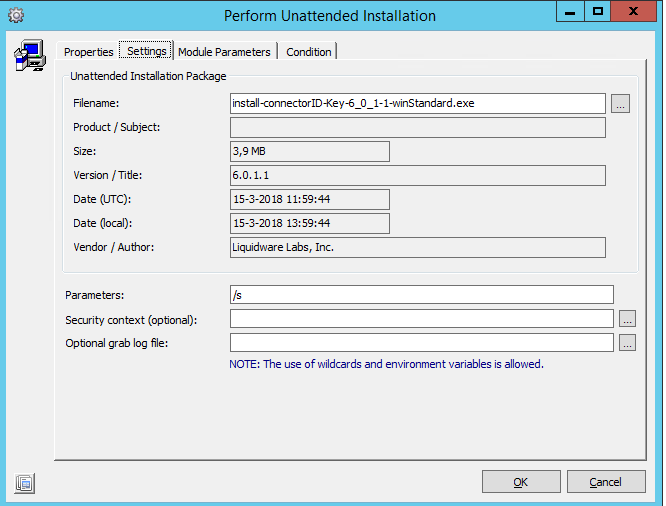
- Now push the .exe to the machine you want to monitor. You can do this manually but as you might know I am a huge fan of automating. So the silent install parameter for the exe is /s See the example here of the CID in Ivanti Automation.
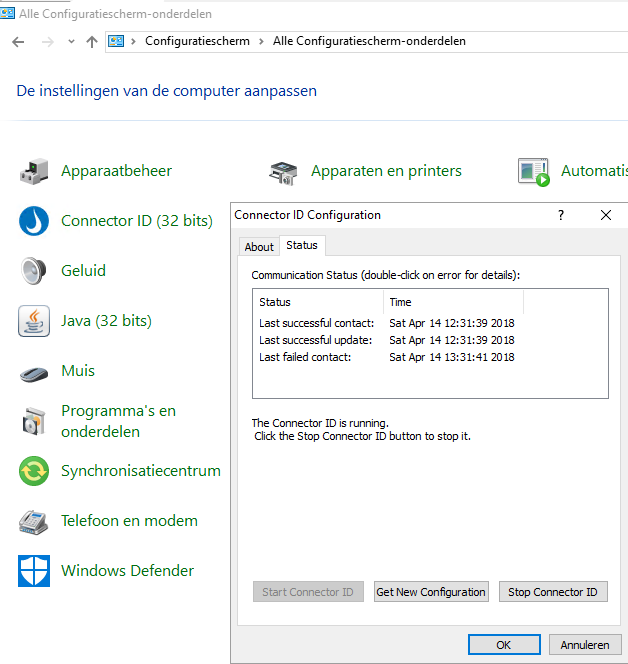
Thats it ! You’re all set up. The user experience data from the machines will now be send to your hub. To check if everything is working correctly you can go to your configuration screen and click on the Connector ID. Then go to the Status tab.
As I said in the beginning of the blog I will also write an upcoming blog to see real world results and diagnostics in Stratusphere. For now I hope this was informative. For questions or comments you can always give a reaction in the comment section or contact me: